Jeep Parts Wiki | Ford Parts Wiki
Home | Search | Browse
|
Body Service Manual August 1964 |
|
Prev
 Next
Next
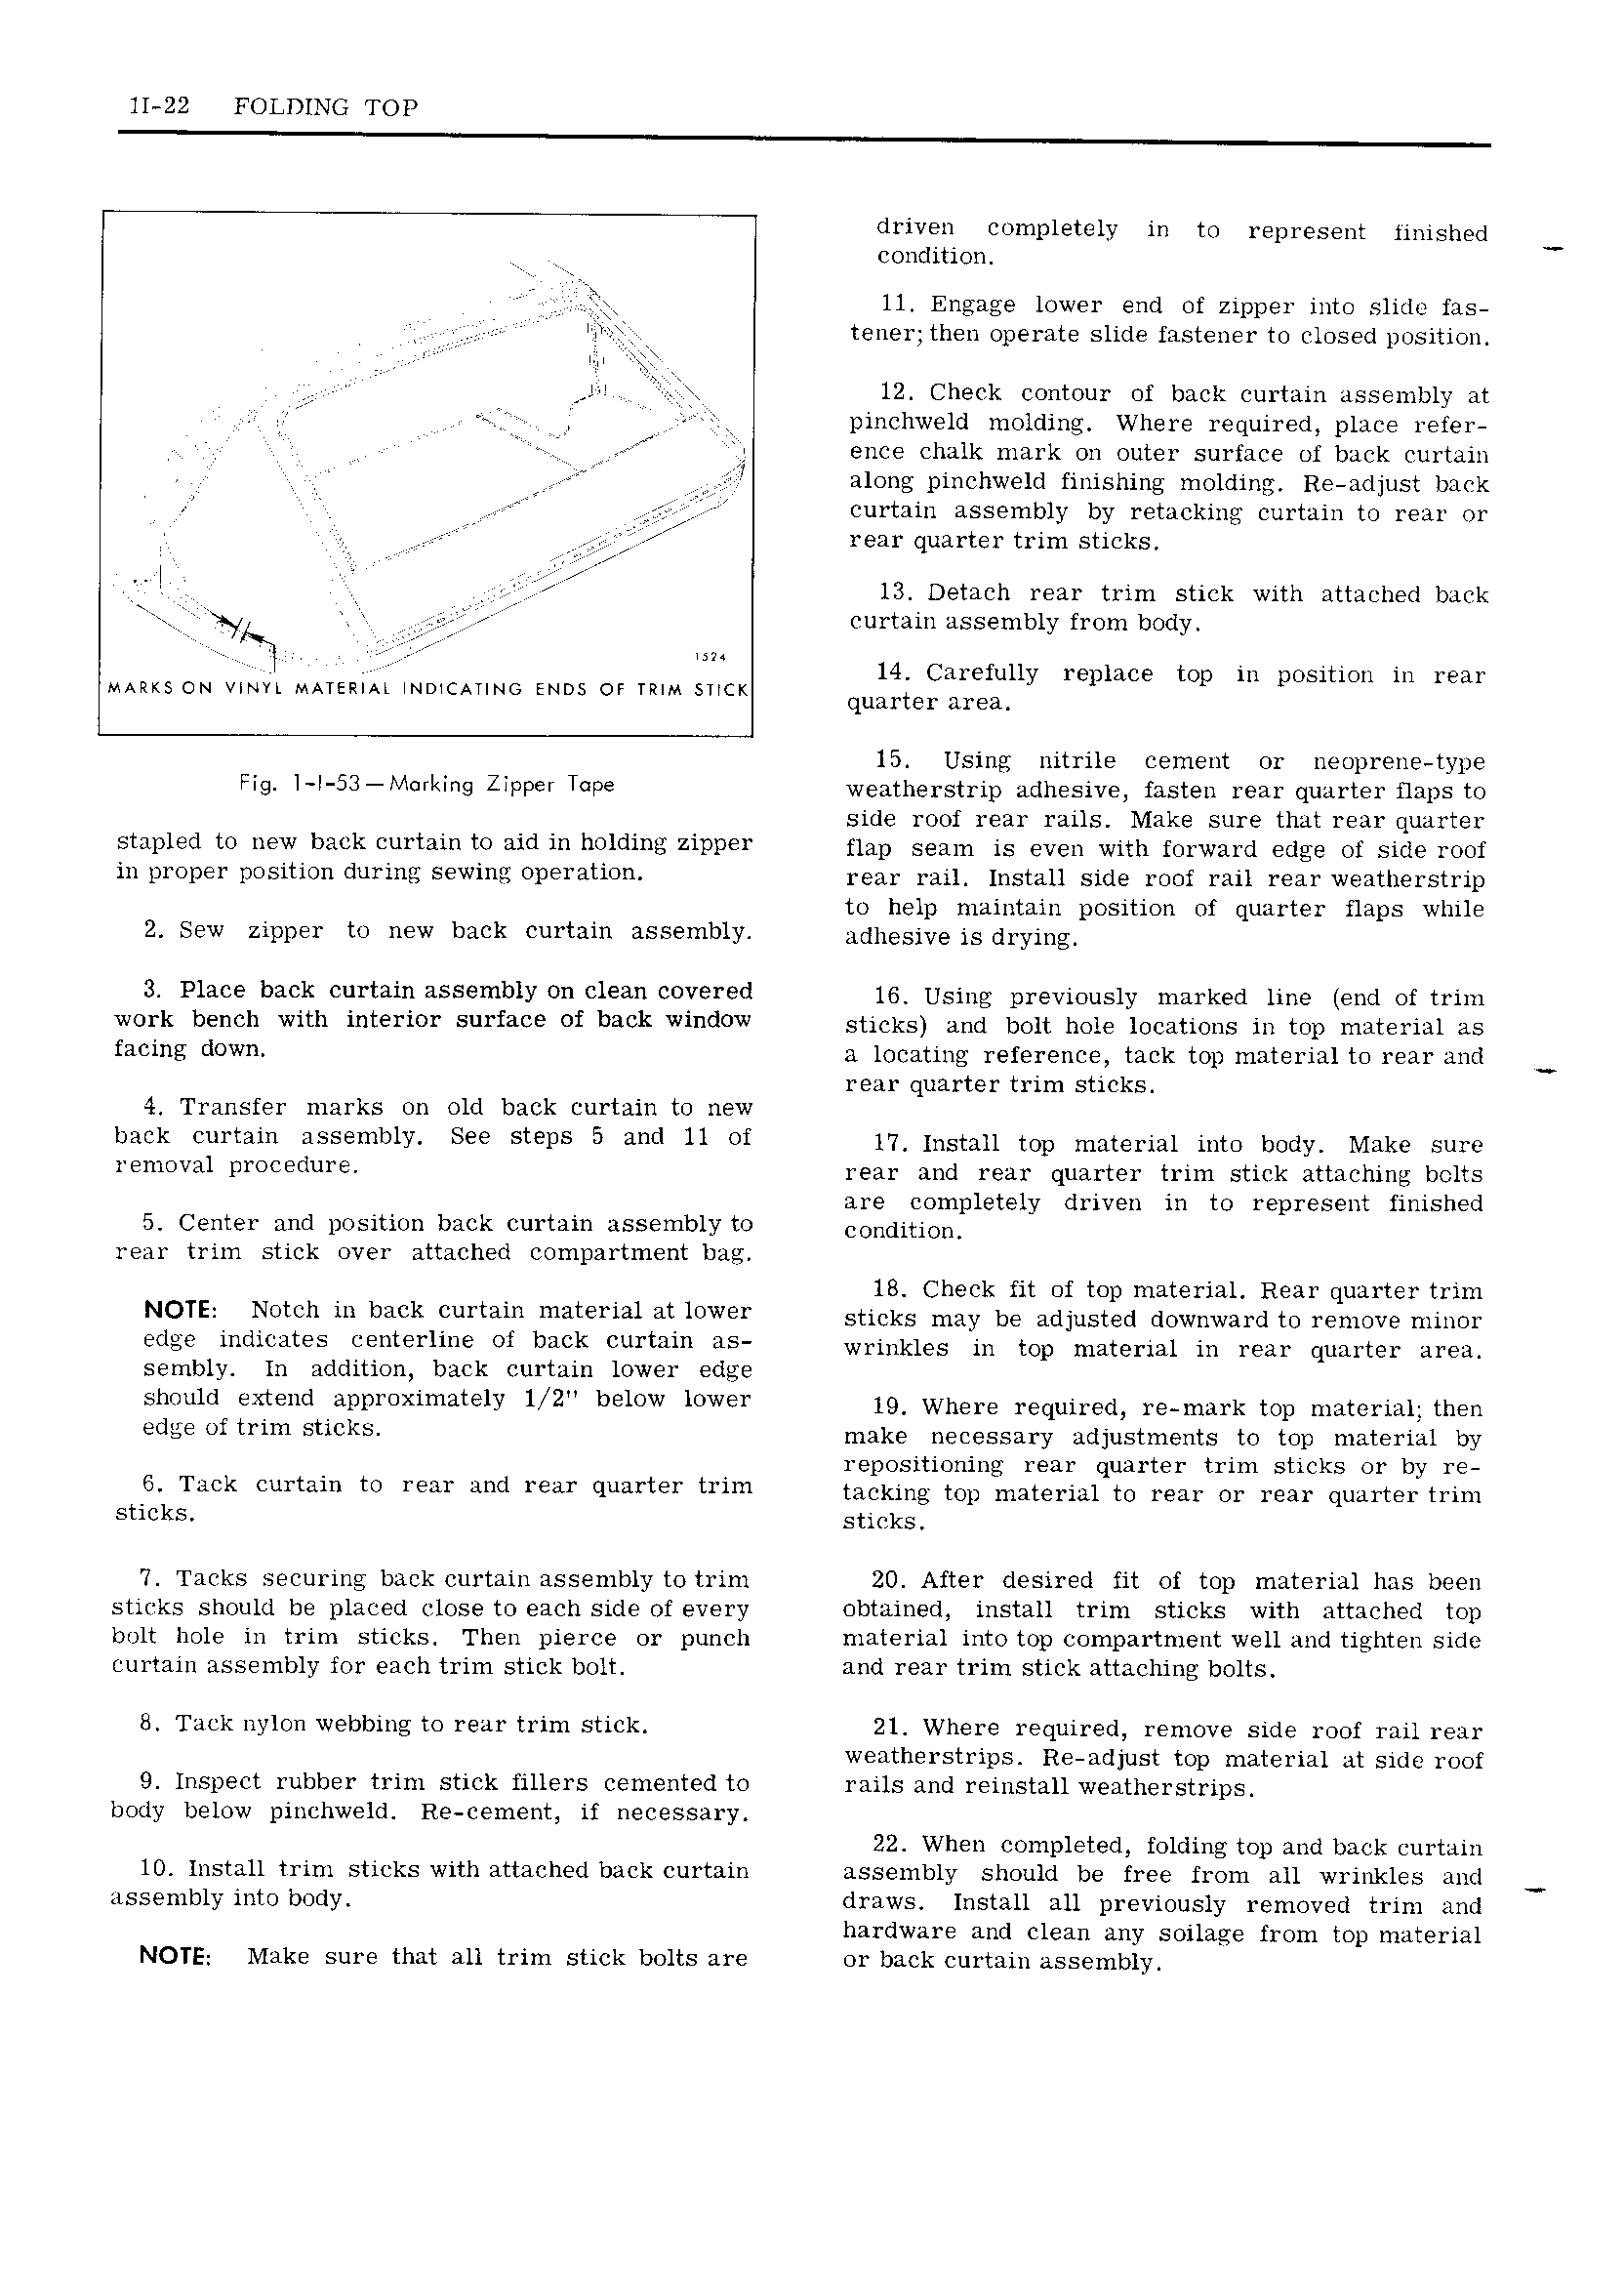
1I 22 FOLDING TOP driven completely in to represent finished condition V 11 Engage lower end of zipper into slidc fas lv tener then operate slide fastener to closed position fw 12 Check contour of back curtain assembly at t pinchweld molding Where required place refer V g ence chalk mark on outer surface of back curtain i along pinchweld finishing molding Re adjust back g curtain assembly by retacking curtain to rear nr rear quarter trim sticks 13 Detach rear trim stick with attached back N curtain assembly from body I i i mt 14 Carefully replace top in position in rear Miers on vnwl Museum lnowcmnnc anus or TRIM sncx quarter uma 15 Using nitrile cement or neoprene type H9 i i 53 M Ii i 9 ZiPP t P weatherstrip adhesive fasten rear quarter flaps to side roof rear rails Make sure that rear quarter St 1 1e 1 to new back wrtain Y0 aid in heidiaa Zipper nap seam is even with n n wai e1 edge or side I eta in l 1 OP 1 P0Siti0 diirins SQWUIQ 0l i 3ti0 rear rail Install side roof rail rear weatherstrip to help maintain position of quarter flaps while 2 Sew zipper to new back curtain assembly ddh sive js drying 3 Piac b k curtain mbiY On Ci 3 covered 16 Using previously marked line end of trim W0l k bench with i t 1 i0 surface of back Window sticks and bolt hole locations in top material as facing d0W a locating reference tack top material to rear and rear quarter trim sticks 4 Transfer marks on old back curtain to new back curtain assembly See steps 5 and ll of j7 msmjj mp matermj mm body Mgkg Surg i mOV3i Pi OC tiiii rear and rear quarter trim stick attaching bolts are completely driven in to represent finished 5 Center and position back curtain assembly to condition rear trim stick over attached compartment bag 1B Check fit of top material Rear quarter trim N0TE Nmtii iii imck ciiitam iii it i i i Ht i iW9i sticks may be adjusted downward to remove minor edge indicates centerline Of back Cklffaill HS wrinkles in Op material in rear quarter area sembly In addition back curtain lower edge should extend approximately 1 Z below lUW 1 9 Uh g required re mark top material then eti i Ut trim Sticks make necessary adjustments to top material by repositioning rear quarter trim sticks or by re 6 Tiick Ctmtaiii ti i i iiiiti i iii q iii t i ti im tacking top material to rear or rear quarter trim sticks gtj kg 7 Tacks securing back curtain assembly to trim 20 After desired fit of top material has been sticks should be placed close to each side of every obtained install trim sticks with attached top bolt hole in trim sticks Then pierce or punch material into top compartment Welland tighten side curtain assembly for each trim stick bolt and rear trim stick attaching bolts 8 Tack nylon webbing to rear trim stick 21 Where required remove side roof rail rear weatherstrips Re adjust top material at side roof 9 Inspect rubber trim stick fillers cemented to rails and reinstall weatherstrips body below pinchweld Re cement if necessary 22 When completed folding top and back curtain 10 Install trim sticks with attached back curtain assembly should be free from all wrinkles and assembly into body draws Install all previously removed trim and Q hardware and clean any soilage from top material NOTE Make sure that all trim stick bolts are or back curtain assembly