Jeep Parts Wiki | Ford Parts Wiki
Home | Search | Browse
Prev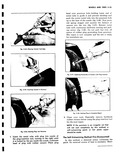
 Next
Next
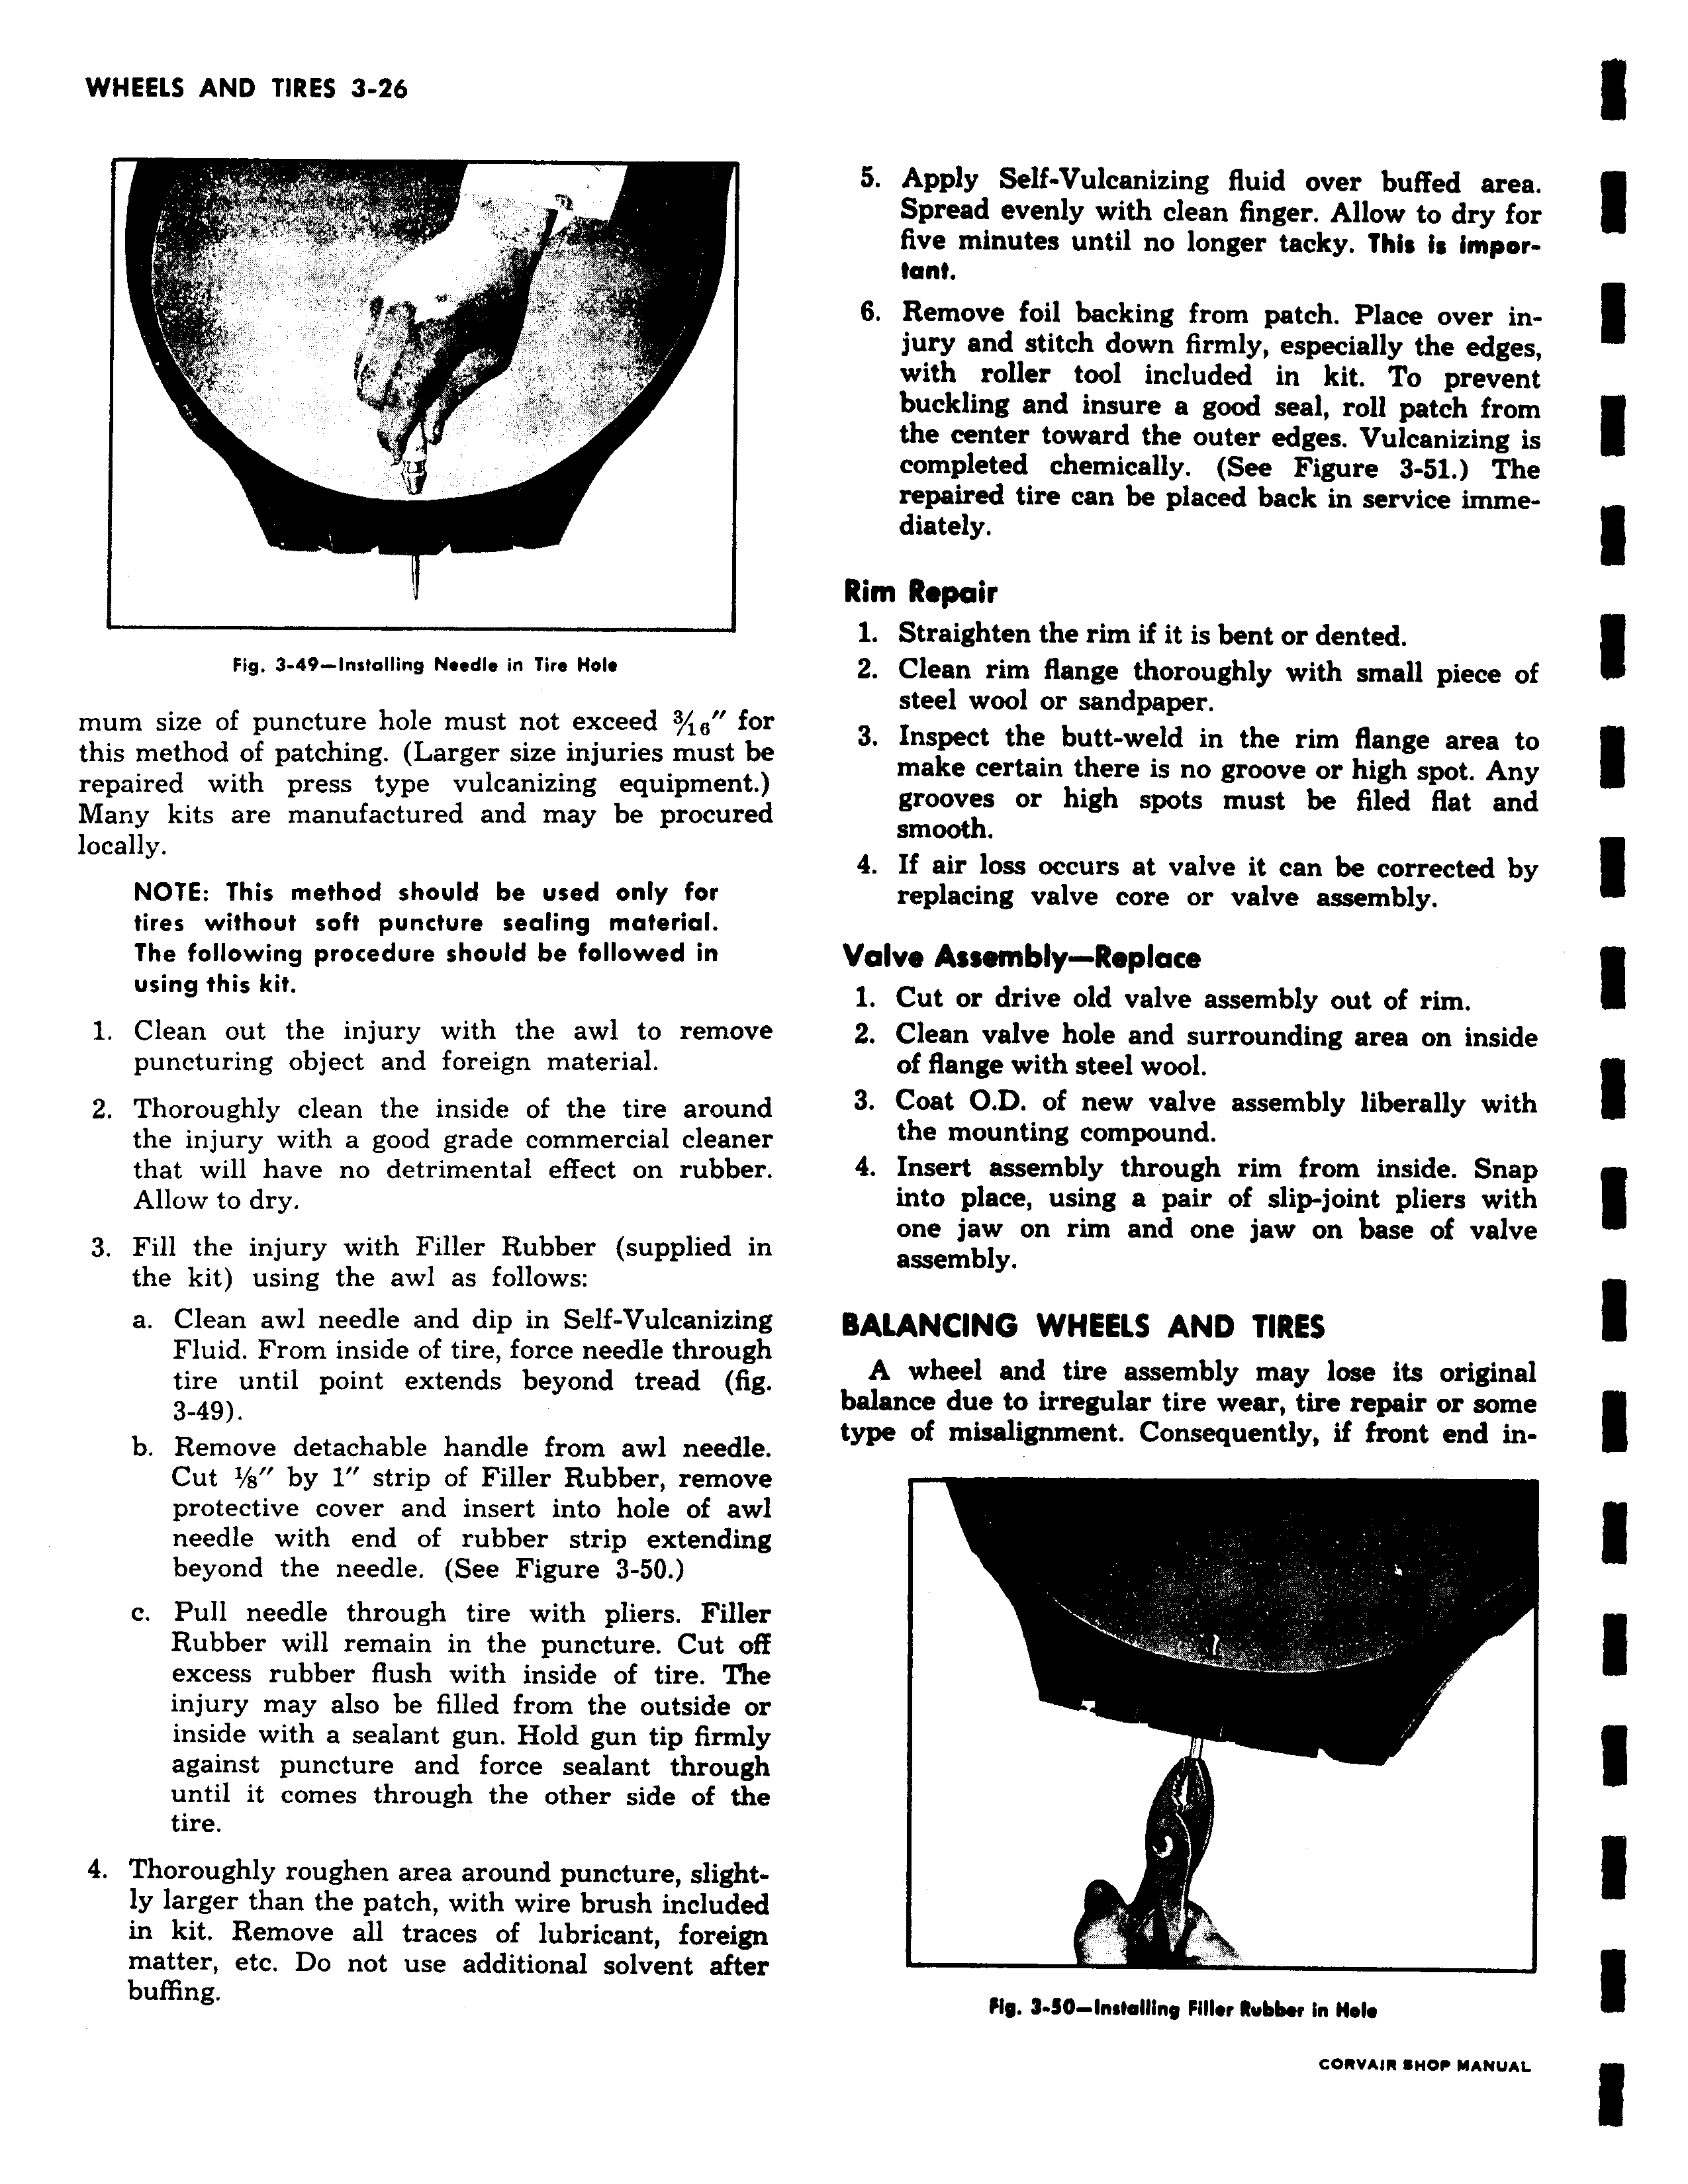
r d Fig 3 49 installing Needle in Tire Hole mum size of puncture hole must not exceed 3 18 for this method of patching Larger size injuries must be repaired with press type vulcanizing equipment Many kits are manufactured and may be procured locally NOTE This method should be used only for tires without soft puncture sealing material The following procedure should be followed in using this kit 1 Clean out the injury with the awl to remove puncturing object and foreign material 2 Thoroughly clean the inside of the tire around the injury with a good grade commercial cleaner that will have no detrimental effect on rubber Allow to dry 3 Fill the injury with Filler Rubber supplied in the kit using the awl as follows a Clean awl needle and dip in Self Vulcanizing Fluid From inside of tire force needle through tire until point extends beyond tread fig 3 49 b Remove detachable handle from awl needle Cut 1 g by 1 strip of Filler Rubber remove protective cover and insert into hole of awl needle with end of rubber strip extending beyond the needle See Figure 3 50 c Pull needle through tire with pliers Filler Rubber will remain in the puncture Cut off excess rubber flush with inside of tire The injury may also be filled from the outside or inside with a sealant gun Hold gun tip firmly against puncture and force sealant through until it comes through the other side of the tire 4 Thoroughly roughen area around puncture slightly larger than the patch with wire brush included in kit Remove all traces of lubricant foreign matter etc Do not use additional solvent after buffing 5 Apply Self Vulcanizing fluid over buffed area Spread evenly with clean finger Allow to dry for five minutes until no longer tacky This Is Important 6 Remove foil backing from patch Place over injury and stitch down firmly especially the edges with roller tool included in kit To prevent buckling and insure a good seal roll patch from the center toward the outer edges Vulcanizing is completed chemically See Figure 3 51 The repaired tire can be placed back in service immediately Rim Repair 1 Straighten the rim if it is bent or dented 2 Clean rim flange thoroughly with small piece of steel wool or sandpaper 3 Inspect the butt weld in the rim flange area to make certain there is no groove or high spot Any grooves or high spots must be filed flat and smooth 4 If air loss occurs at valve it can be corrected by replacing valve core or valve assembly Valve Assembly Replace 1 Cut or drive old valve assembly out of rim 2 Clean valve hole and surrounding area on inside of flange with steel wool 3 Coat O D of new valve assembly liberally with the mounting compound 4 Insert assembly through rim from inside Snap into place using a pair of slip joint pliers with one jaw on rim and one jaw on base of valve assembly BALANCING WHEELS AND TIRES A wheel and tire assembly may lose its original balance due to irregular tire wear tire repair or some type of misalignment Consequently if front end in r s Ir ftg 3 50 Installing Filler RebMr in Hole