Jeep Parts Wiki | Ford Parts Wiki
Home | Search | Browse
|
Corvair Chassis Shop Manual December 1964 |
|
Prev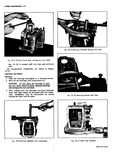
 Next
Next
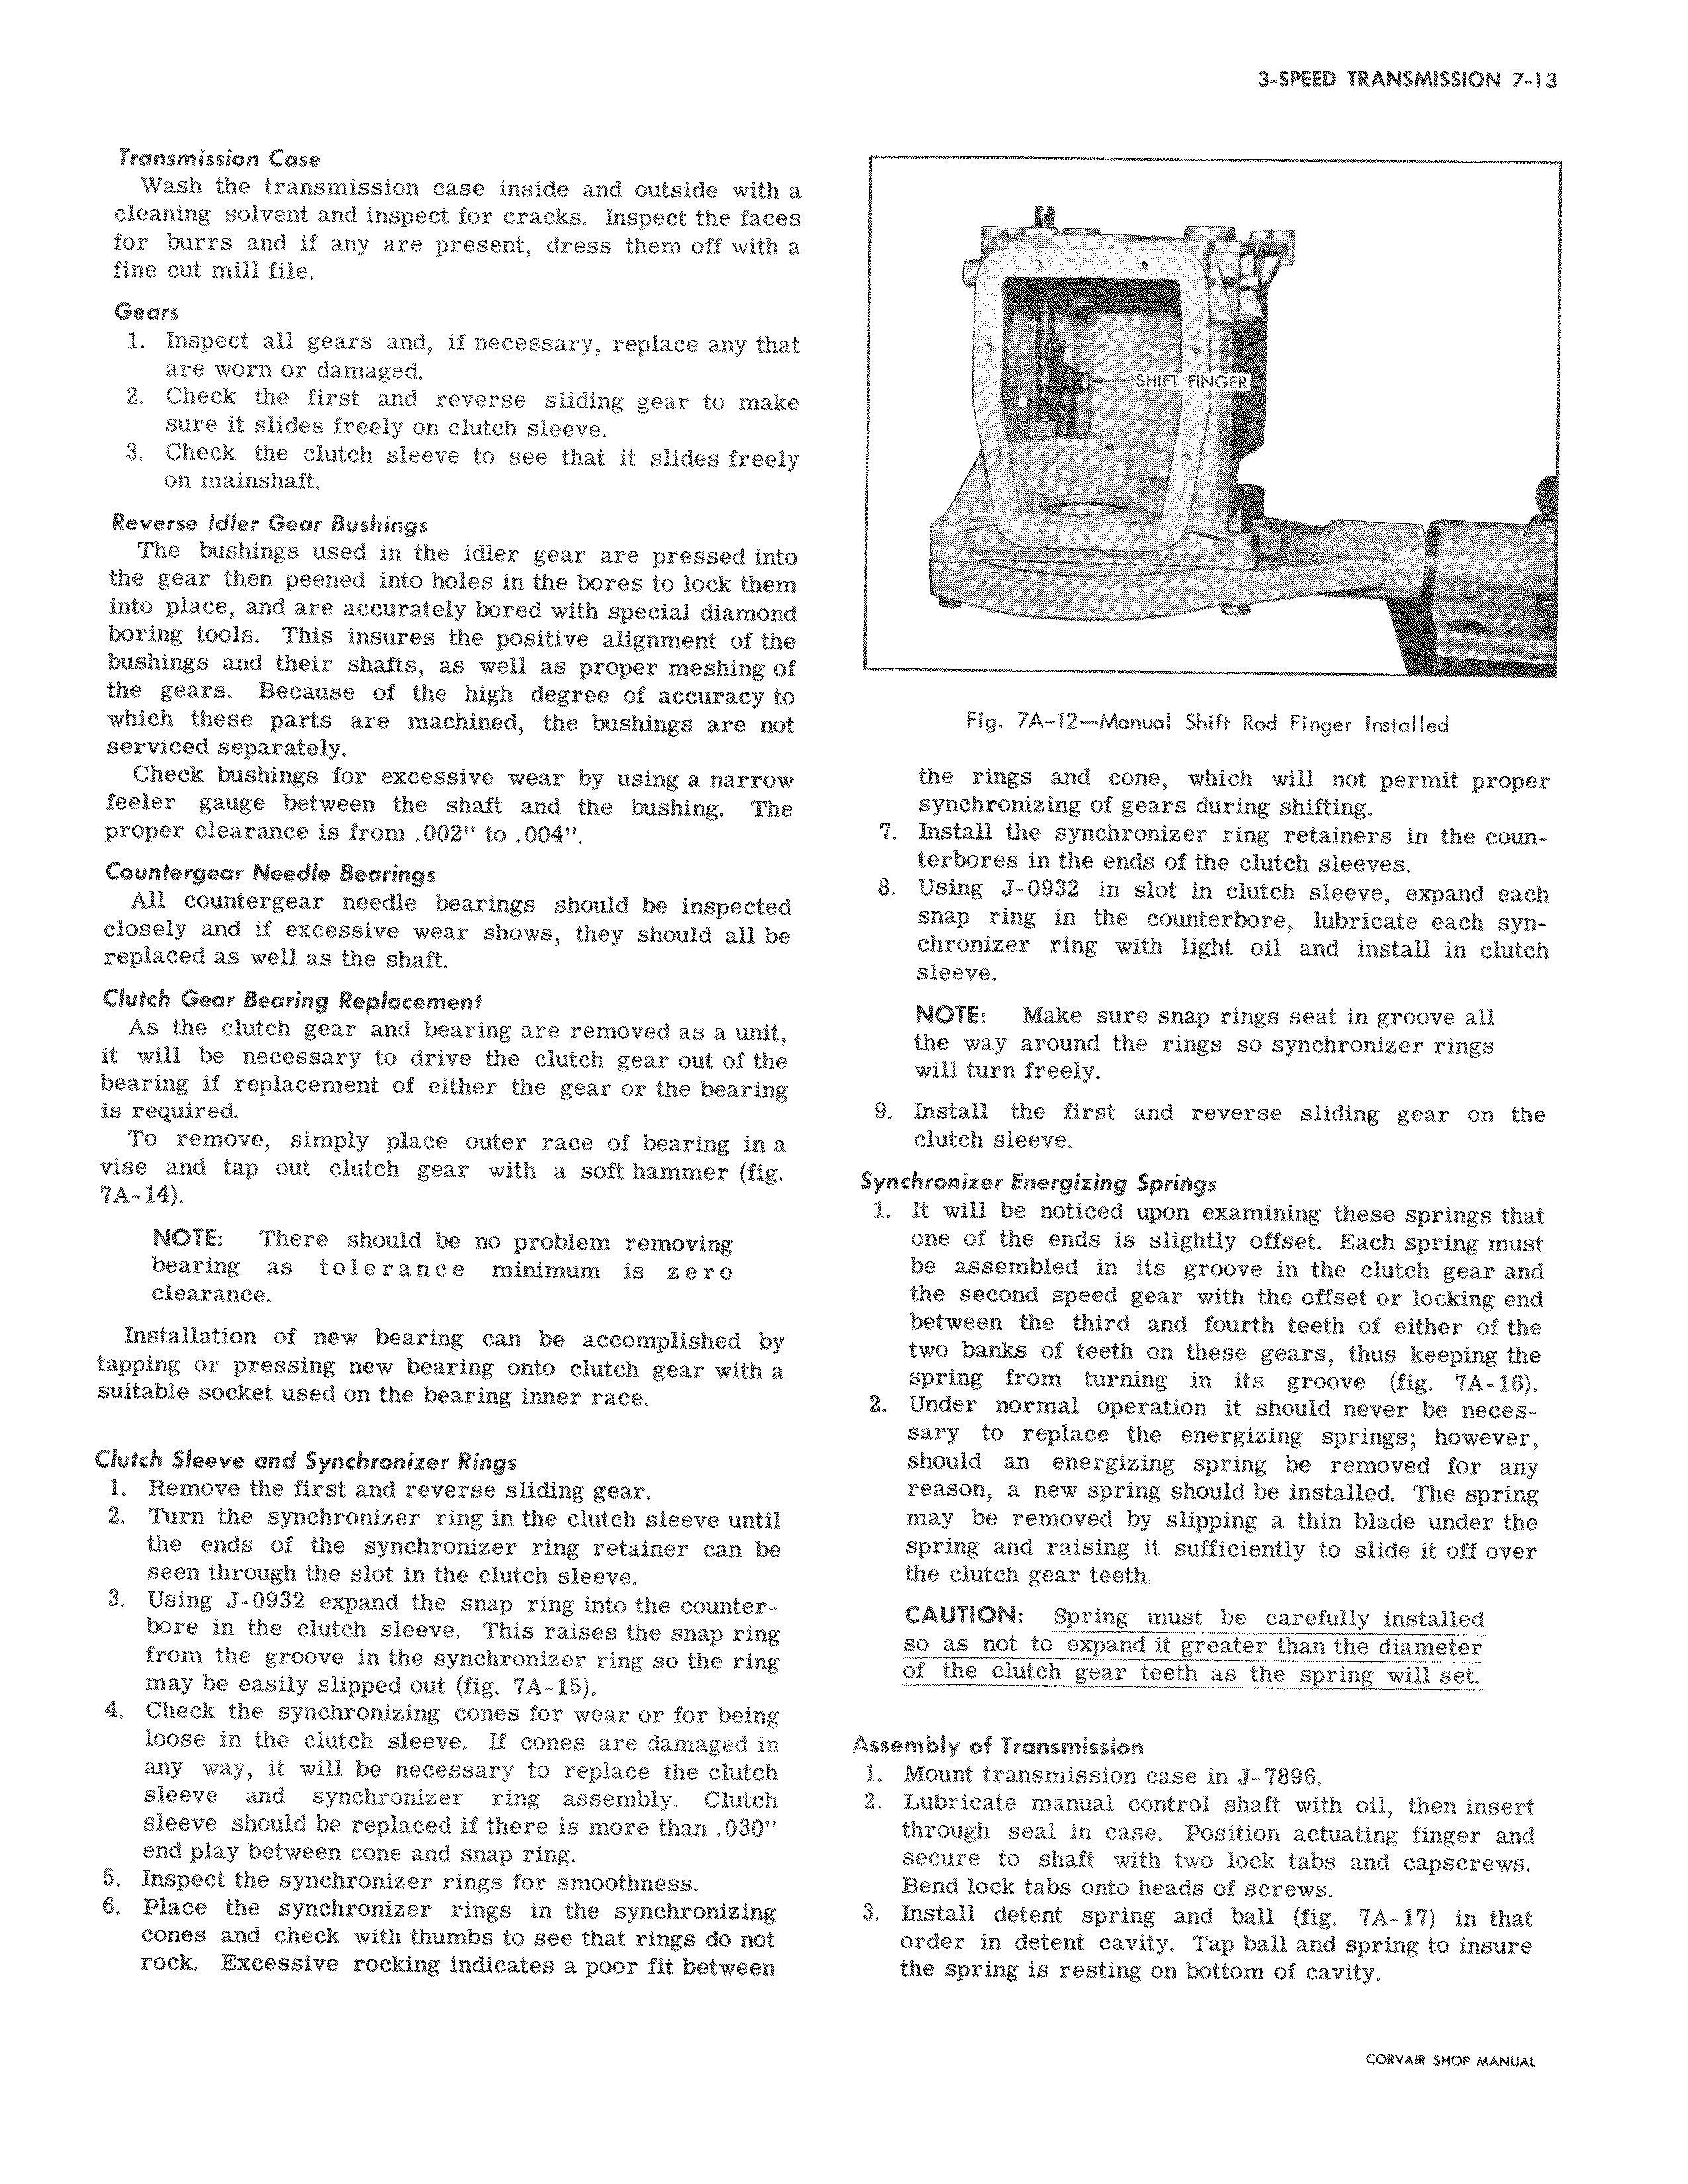
Transmission Case Wash the transmission case inside and outside with a cleaning solvent and inspect for cracks Inspect the faces for burrs and if any are present dress them off with a fine cut mill file Gears 1 Inspect all gears and if necessary replace any that are worn or damaged 2 Check the first and reverse sliding gear to make sure it slides freely on clutch sleeve 3 Check the clutch sleeve to see that it slides freely on mainshaft Reverse Idler Gear Bushings The bushings used in the idler gear are pressed into the gear then peened into holes in the bores to lock them into place and are accurately bored with special diamond boring tools This insures the positive alignment of the bushings and their shafts as well as proper meshing of the gears Because of the high degree of accuracy to which these parts are machined the bushings are not serviced separately Check bushings for excessive wear by using a narrow feeler gauge between the shaft and the bushing The proper clearance is from 002 to 004 Countergear Needle Bearings All countergear needle bearings should be inspected closely and if excessive wear shows they should all be replaced as well as the shaft Clutch Gear Bearing Replacement As the clutch gear and bearing are removed as a unit it will be necessary to drive the clutch gear out of the bearing if replacement of either the gear or the bearing is required To remove simply place outer race of bearing in a vise and tap out clutch gear with a soft hammer fig 7A 14 NOTE There should be no problem removing bearing as tolerance minimum is zero clearance Installation of new bearing can be accomplished by tapping or pressing new bearing onto clutch gear with a suitable socket used on the bearing inner race Clutch Sleeve and Synchronizer Rings 1 Remove the first and reverse sliding gear 2 Turn the synchronizer ring in the clutch sleeve until the ends of the synchronizer ring retainer can be seen through the slot in the clutch sleeve 3 Using J 0932 expand the snap ring into the counterbore in the clutch sleeve This raises the snap ring from the groove in the synchronizer ring so the ring may be easily slipped out fig 7A 15 4 Check the synchronizing cones for wear or for being loose in the clutch sleeve If cones are damaged in any way it will be necessary to replace the clutch sleeve and synchronizer ring assembly Clutch sleeve should be replaced if there is more than 030 end play between cone and snap ring 5 Inspect the synchronizer rings for smoothness 6 Place the synchronizer rings in the synchronizing cones and check with thumbs to see that rings do not rock Excessive rocking indicates a poor fit between v w v v n u T w v w M1 aRT 11 v 1