Jeep Parts Wiki | Ford Parts Wiki
Home | Search | Browse
|
Corvair Chassis Shop Manual December 1964 |
|
Prev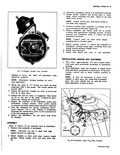
 Next
Next
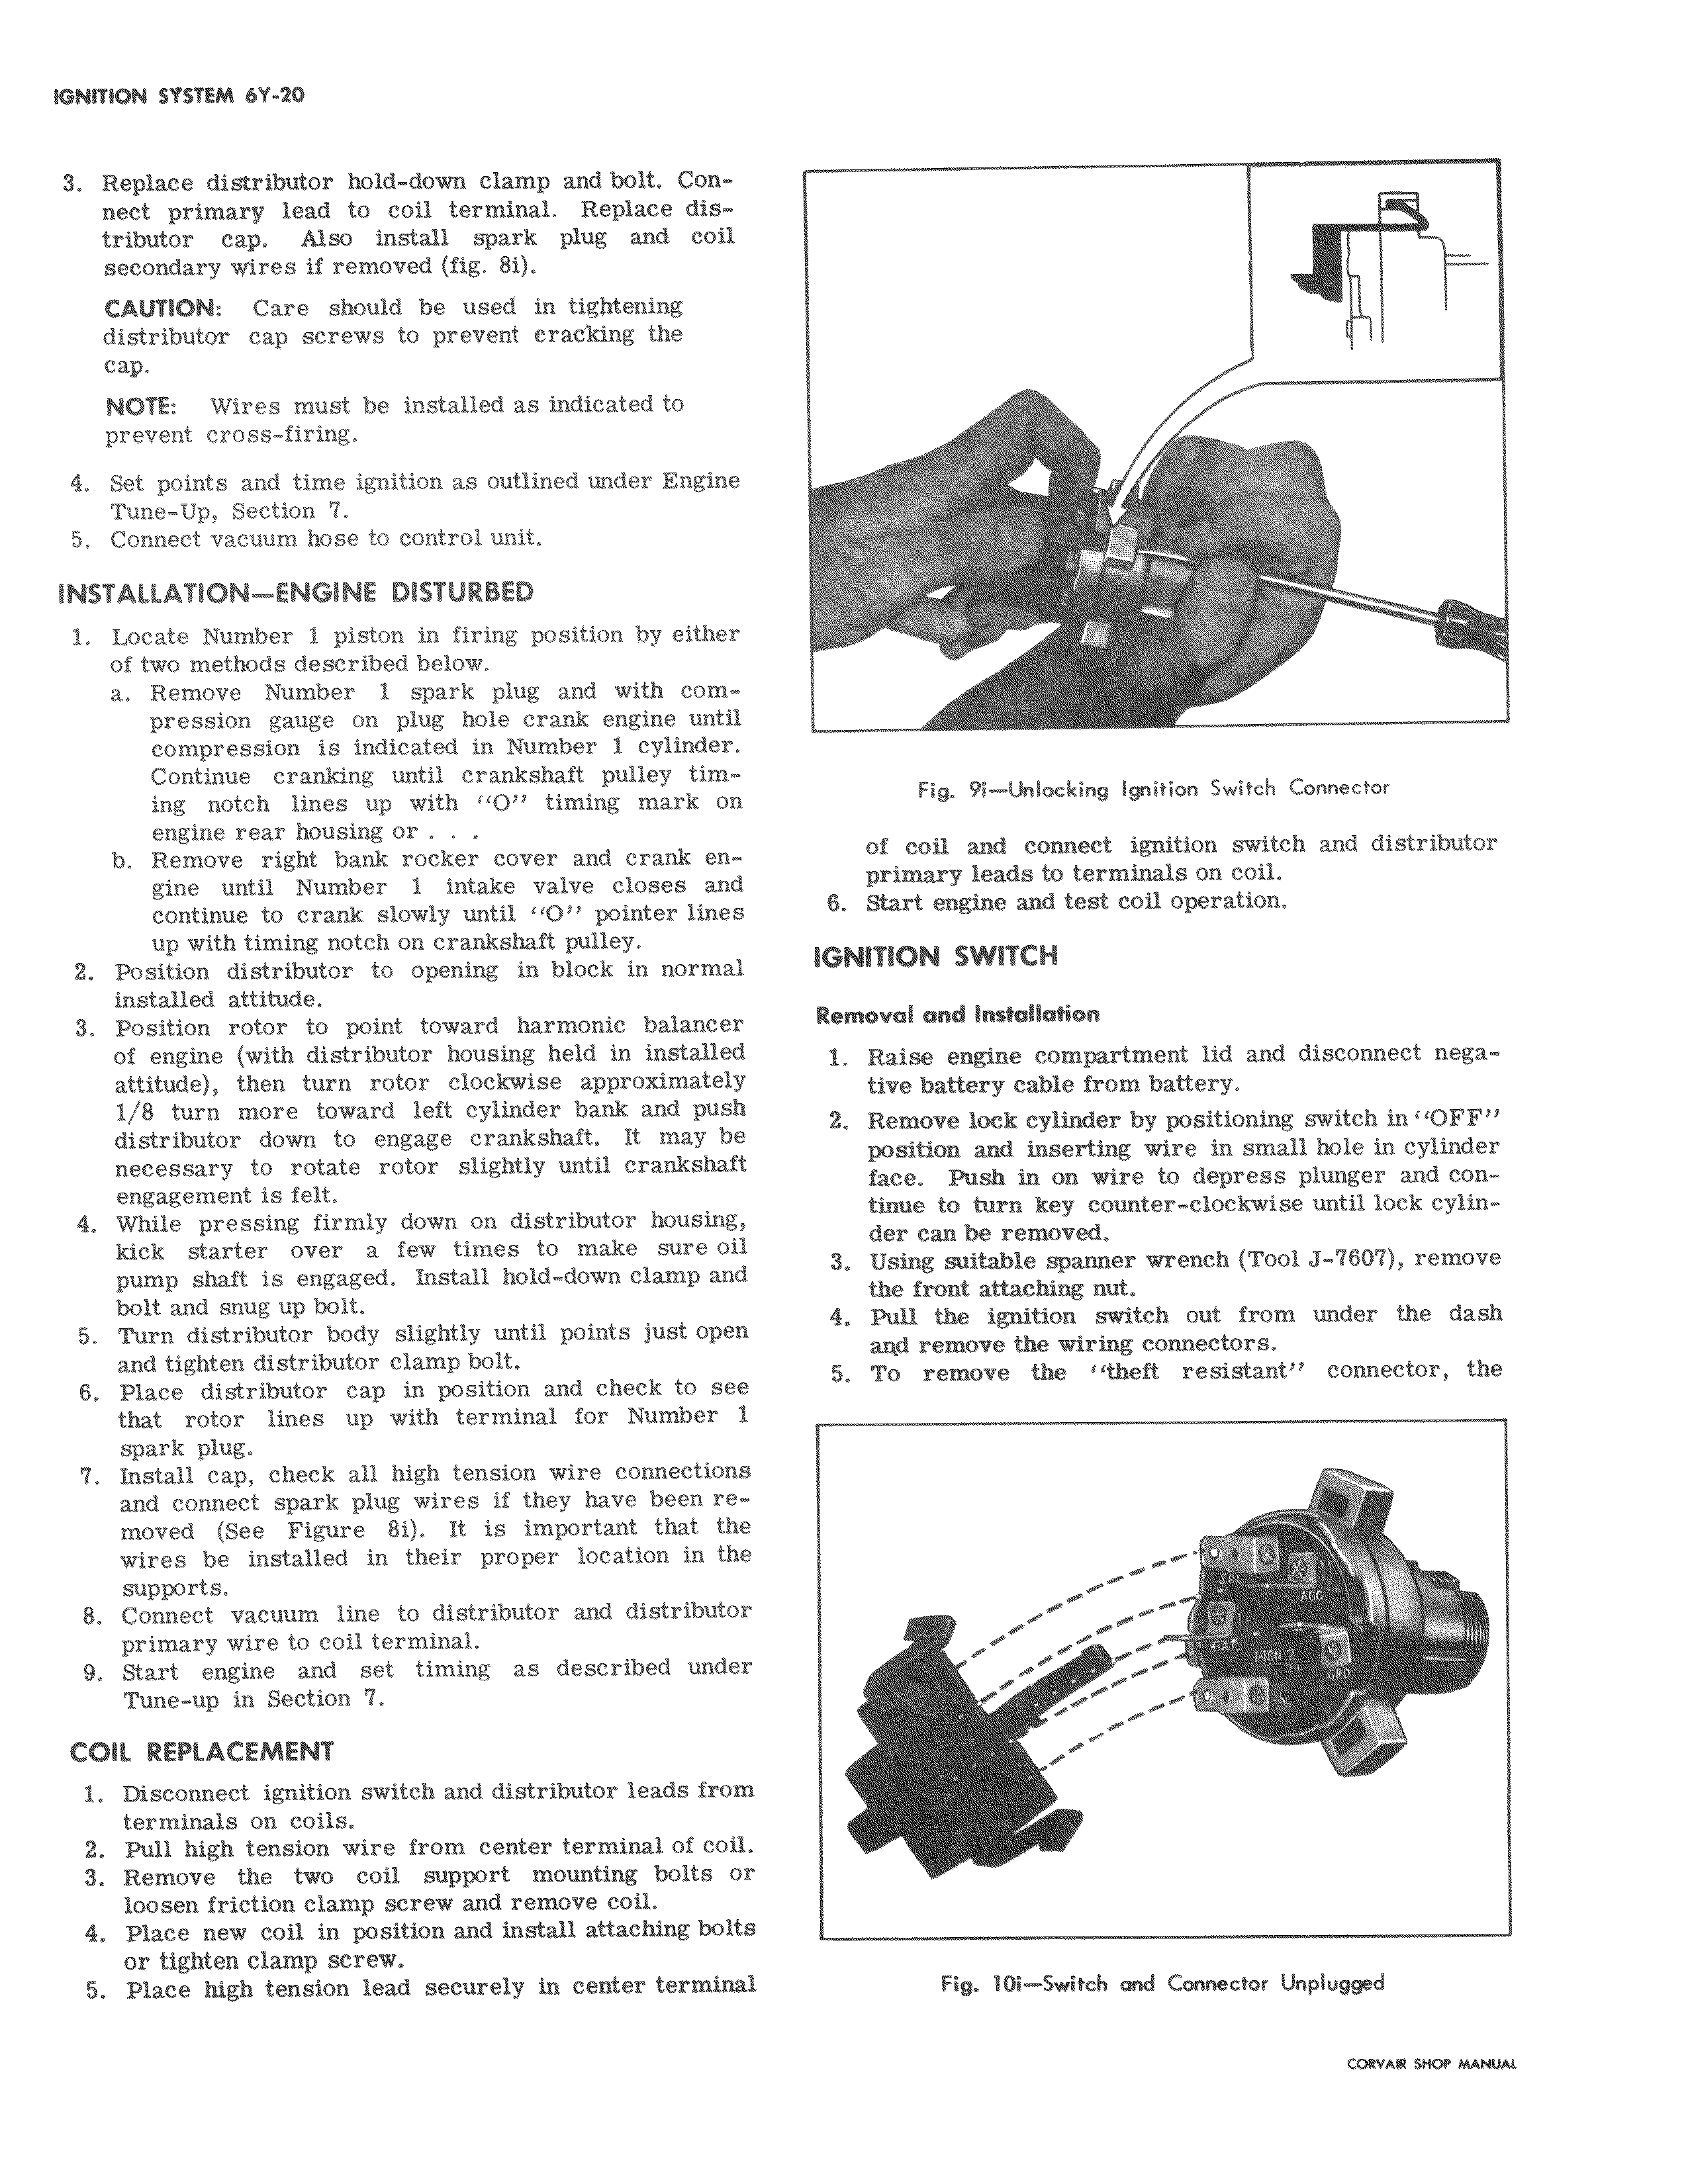
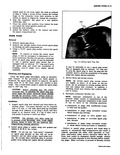
3 Replace distributor hold down clamp and bolt Con i nect primary lead to coil terminal Replace distributor cap Also install spark plug and coil secondary wires if removed fig 8i CAUTION Care should be used in tightening distributor cap screws to prevent cracking the cap NOTE Wires must be installed as indicated to prevent cross firing 4 Set points and time ignition as outlined under Engine Tune Up Section 7 5 Connect vacuum hose to control unit INSTALLATION ENGINE DISTURBED 1 Locate Number 1 piston in firing position by either I of two methods described below a Remove Number 1 spark plug and with compression gauge on plug hole crank engine until compression is indicated in Number 1 cylinder Continue cranking until crankshaft pulley timing notch lines up with 11011 timing mark on engine rear housing or b Remove right bank rocker cover and crank engine until Number 1 intake valve closes and continue to crank slowly until 1O pointer lines up with timing notch on crankshaft pulley 2 Position distributor to opening in block in normal installed attitude 3 Position rotor to point toward harmonic balancer of engine with distributor housing held in installed attitude then turn rotor clockwise approximately 1 8 turn more toward left cylinder bank and push distributor down to engage crankshaft It may be necessary to rotate rotor slightly until crankshaft engagement is felt 4 While pressing firmly down on distributor housing kick starter over a few times to make sure o pump shaft is engaged Install hold down clamp an bolt and snug up bolt 5 Turn distributor body slightly until points just open and tighten distributor clamp bolt 6 Place distributor cap in position and check to se that rotor lines up with terminal for Number 1 spark plug 7 Install cap check all high tension wire connections and connect spark plug wires if they have been removed See Figure 8i It is important that th wires be installed in their proper location in th supports 8 Connect vacuum line to distributor and distributo primary wire to coil terminal 9 Start engine and set timing as described under Tune up in Section 7 COIL REPLACEMENT 1 Disconnect ignition switch and distributor leads fro x terminals on coils 2 Pull high tension wire from center terminal of coil 3 Remove the two coil support mounting bolts or loosen friction clamp screw and remove coil 4 Place new coil in position and install attaching boltls or tighten clamp screw 5 Place high tension lead securely in center termin4l Fig 9i Unlocking Ignition Switch Connector of coil and connect ignition switch and distributor primary leads to terminals on coil 6 Start engine and test coil operation IGNITION SWITCH Removal and Installation 1 Raise engine compartment lid and disconnect negative battery cable from battery 2 Remove lock cylinder by positioning switch in I OFF position and inserting wire in small hole in cylinder face Push in on wire to depress plunger and continue to turn key counter clockwise until lock cylinder can be removed 3 Using suitable spanner wrench Tool J 607 remove the front attaching nut 4 Pull the ignition switch out from under the dash aqd remove the wiring connectors 5 To remove the theft resistant connector the i y ir ji i i I Fig 10i Switch and Connector Unplugged