Jeep Parts Wiki | Ford Parts Wiki
Home | Search | Browse | Marketplace | Messages | FAQ | Guest
Prev
 Next
Next
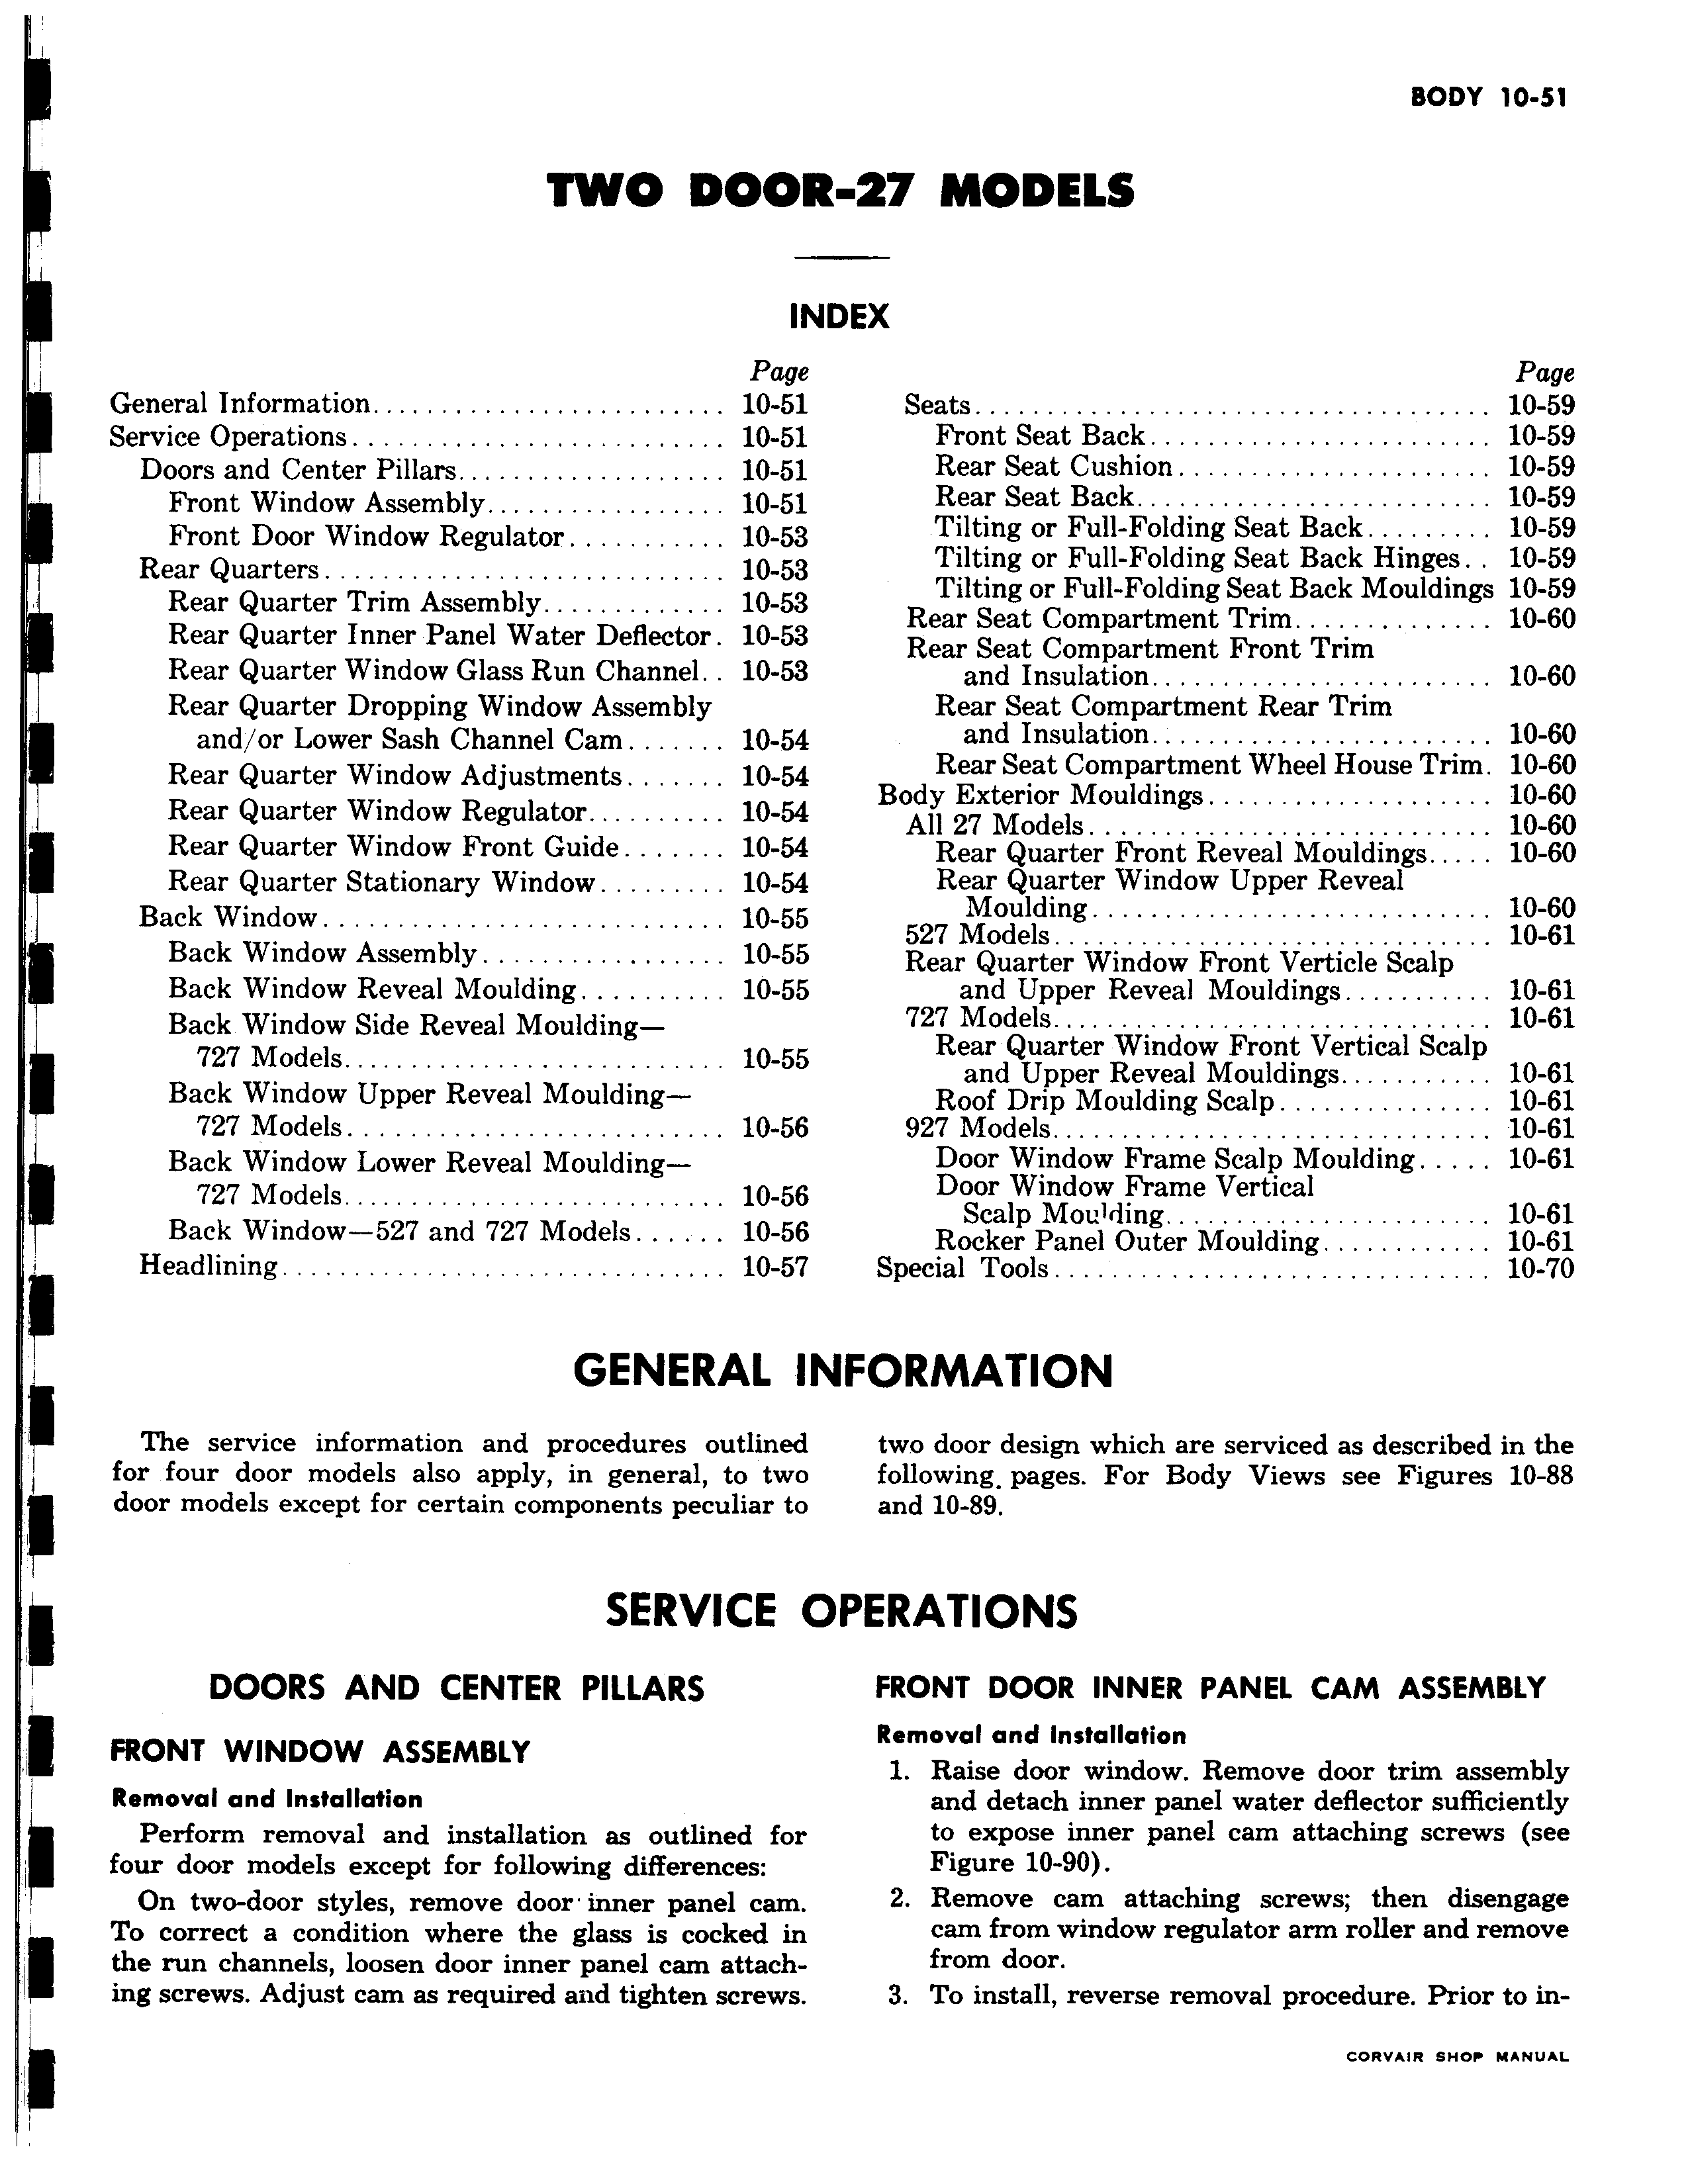
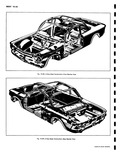
yTWO Doo1 n Pago General Information 10 51 Service Operations 10 51 Doors and Center Pillars 10 51 Front Window Assembly 10 51 Front Door Window Regulator 10 5 E Rear Quarters 10 5 Rear Quarter Trim Assembly 10 53 ef Rear Quarter Inner Panel Water Deflector 10 5 Rear Quarter Window Glass Run Channel 10 5 Rear Quarter Dropping Window Assembly and or Lower Sash Channel Cam 10 59 Rear Quarter Window Adjustments 10 59 Rear Quarter Window Regulator 10 59 Rear Quarter Window Front Guide 10 59 Rear Quarter Stationary Window 10 59 Back Window 10 5E Back Window Assembly 10 51 Back Window Reveal Moulding 10 5 Back Window Side Reveal Moulding 727 Models 10 5f Back Window Upper Reveal Moulding 727 Models 10 5E Back Window Lower Reveal Moulding 727 Models 10 5E Back Window 527 and 727 Models 10 5E Headlining 10 5i GENERAL I The service information and procedures outlined for four door models also apply in general to two door models except for certain components peculiar tc SERVICE DOORS AND CENTER PILLARS FRONT WINDOW ASSEMBLY Removal and Installation I Perform removal and installation as outlined for four door models except for following differences On two door styles remove door inner panel cam To correct a condition where the glass is cocked in the run channels loosen door inner panel cam attaching screws Adjust cam as required and tighten screws R Z7 MODELS VDEX Page Seats 10 59 Front Seat Back 10 59 Rear Seat Cushion 10 59 Rear Seat Back 10 59 Tilting or Full Folding Seat Back 10 59 Tilting or Full Folding Seat Back Hinges 10 59 Tilting or Full Folding Seat Back Mouldings 10 59 Rear Seat Compartment Trim 10 60 Rear Seat Compartment Front Trim and Insulation 10 60 Rear Seat Compartment Rear Trim and Insulation 10 60 Rear Seat Compartment Wheel House Trim 10 60 Body Exterior Mouldings 10 60 A11 27 Models 10 60 Rear Quarter Front Reveal Mouldings 10 60 Rear Quarter Window Upper Reveal Moulding 10 60 527 Models 10 61 Rear Quarter Window Front Verticle Scalp and Upper Reveal Mouldings 10 61 727 Models 10 61 Rear Quarter Window Front Vertical Scalp and Upper Reveal Mouldings 10 61 Roof Drip Moulding Scalp 10 61 927 Models 10 61 Door Window Frame Scalp Moulding 10 61 Door Window Frame Vertical Scalp Moulding 10 61 Rocker Panel Outer Moulding 10 61 Special Tools 10 70 NFORMATION two door design which are serviced as described in the following pages For Body Views see Figures 10 88 and 10 89 OPERATIONS FRONT DOOR INNER PANEL CAM ASSEMBLY Removal and Installation 1 Raise door window Remove door trim assembly and detach inner panel water deflector sufficiently to expose inner panel cam attaching screws see Figure 10 90 2 Remove cam attaching screws then disengage cam from window regulator arm roller and remove from door 3 To install reverse removal procedure Prior to inenovme eun u wum