Jeep Parts Wiki | Ford Parts Wiki
Home | Search | Browse
Prev

 Next
Next
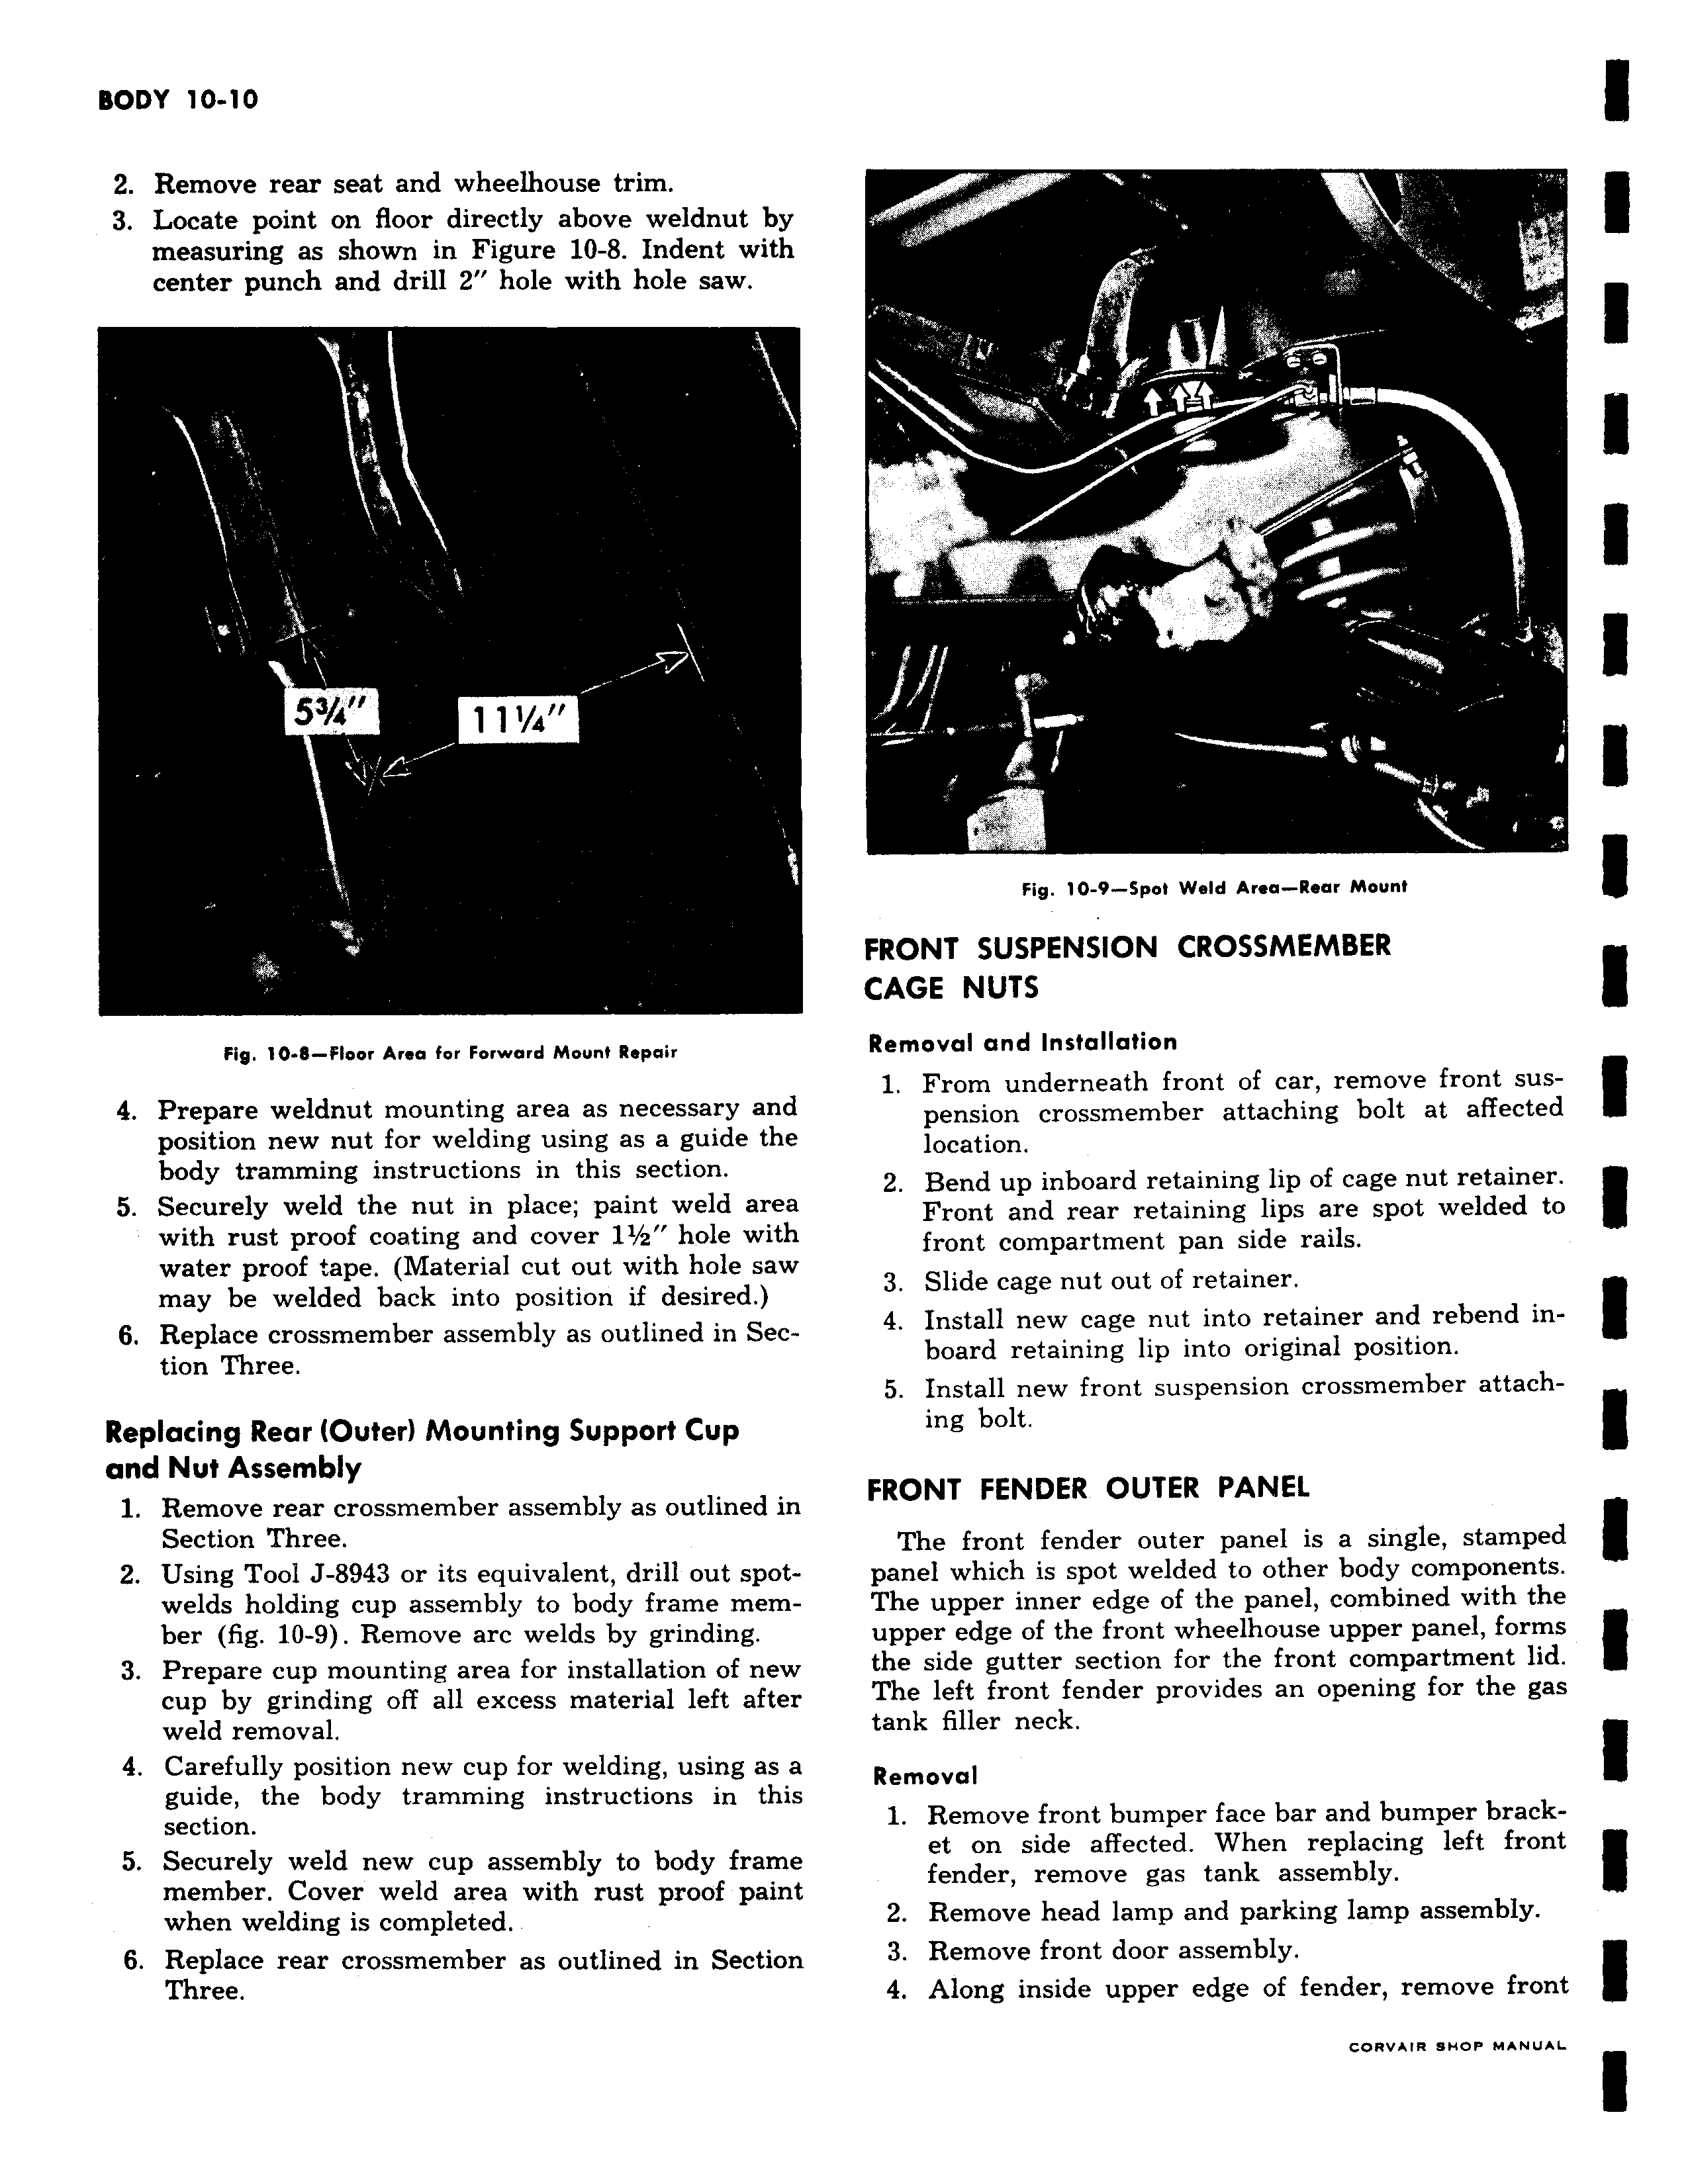
2 Remove rear seat and wheelhouse trim 3 Locate point on floor directly above weldnut by measuring as shown in Figure 10 8 Indent with center punch and drill 2 hole with hole saw i 1 5 Y4 1 a Fig 10 8 Floor Area for Forward Mount Repair 4 Prepare weldnut mounting area as necessary and position new nut for welding using as a guide the body tramming instructions in this section 5 Securely weld the nut in place paint weld area with rust proof coating and cover 11 z hole with water proof tape Material cut out with hole saw may be welded back into position if desired 6 Replace crossmember assembly as outlined in Section Three Replacing Rear Outer Mounting Support Cup and Nut Assembly 1 Remove rear crossmember assembly as outlined in Section Three 2 Using Tool J 8943 or its equivalent drill out spotwelds holding cup assembly to body frame member fig 10 9 Remove are welds by grinding 3 Prepare cup mounting area for installation of new cup by grinding off all excess material left after weld removal 4 Carefully position new cup for welding using as a guide the body tramming instructions in this section 5 Securely weld new cup assembly to body frame member Cover weld area with rust proof paint when welding is completed 6 Replace rear crossmember as outlined in Section Three r s F i L Fig 10 9 Spot Weld Area Rear Mount FRONT SUSPENSION CROSSMEMBER CAGE NUTS Removal and Installation 1 From underneath front of car remove front suspension crossmember attaching bolt at affected location 2 Bend up inboard retaining lip of cage nut retainer Front and rear retaining lips are spot welded to front compartment pan side rails 3 Slide cage nut out of retainer 4 Install new cage nut into retainer and rebend inboard retaining lip into original position 5 Install new front suspension crossmember attaching bolt FRONT FENDER OUTER PANEL The front fender outer panel is a single stamped panel which is spot welded to other body components The upper inner edge of the panel combined with the upper edge of the front wheelhouse upper panel forms the side gutter section for the front compartment lid The left front fender provides an opening for the gas tank filler neck Removal 1 Remove front bumper face bar and bumper bracket on side affected When replacing left front fender remove gas tank assembly 2 Remove head lamp and parking lamp assembly 3 Remove front door assembly 4 Along inside upper edge of fender remove front CORVAIR SHOP MANUAL

 Next
Next