Jeep Parts Wiki | Ford Parts Wiki
Home | Search | Browse | Marketplace | Messages | FAQ | Guest
Prev

 Next
Next
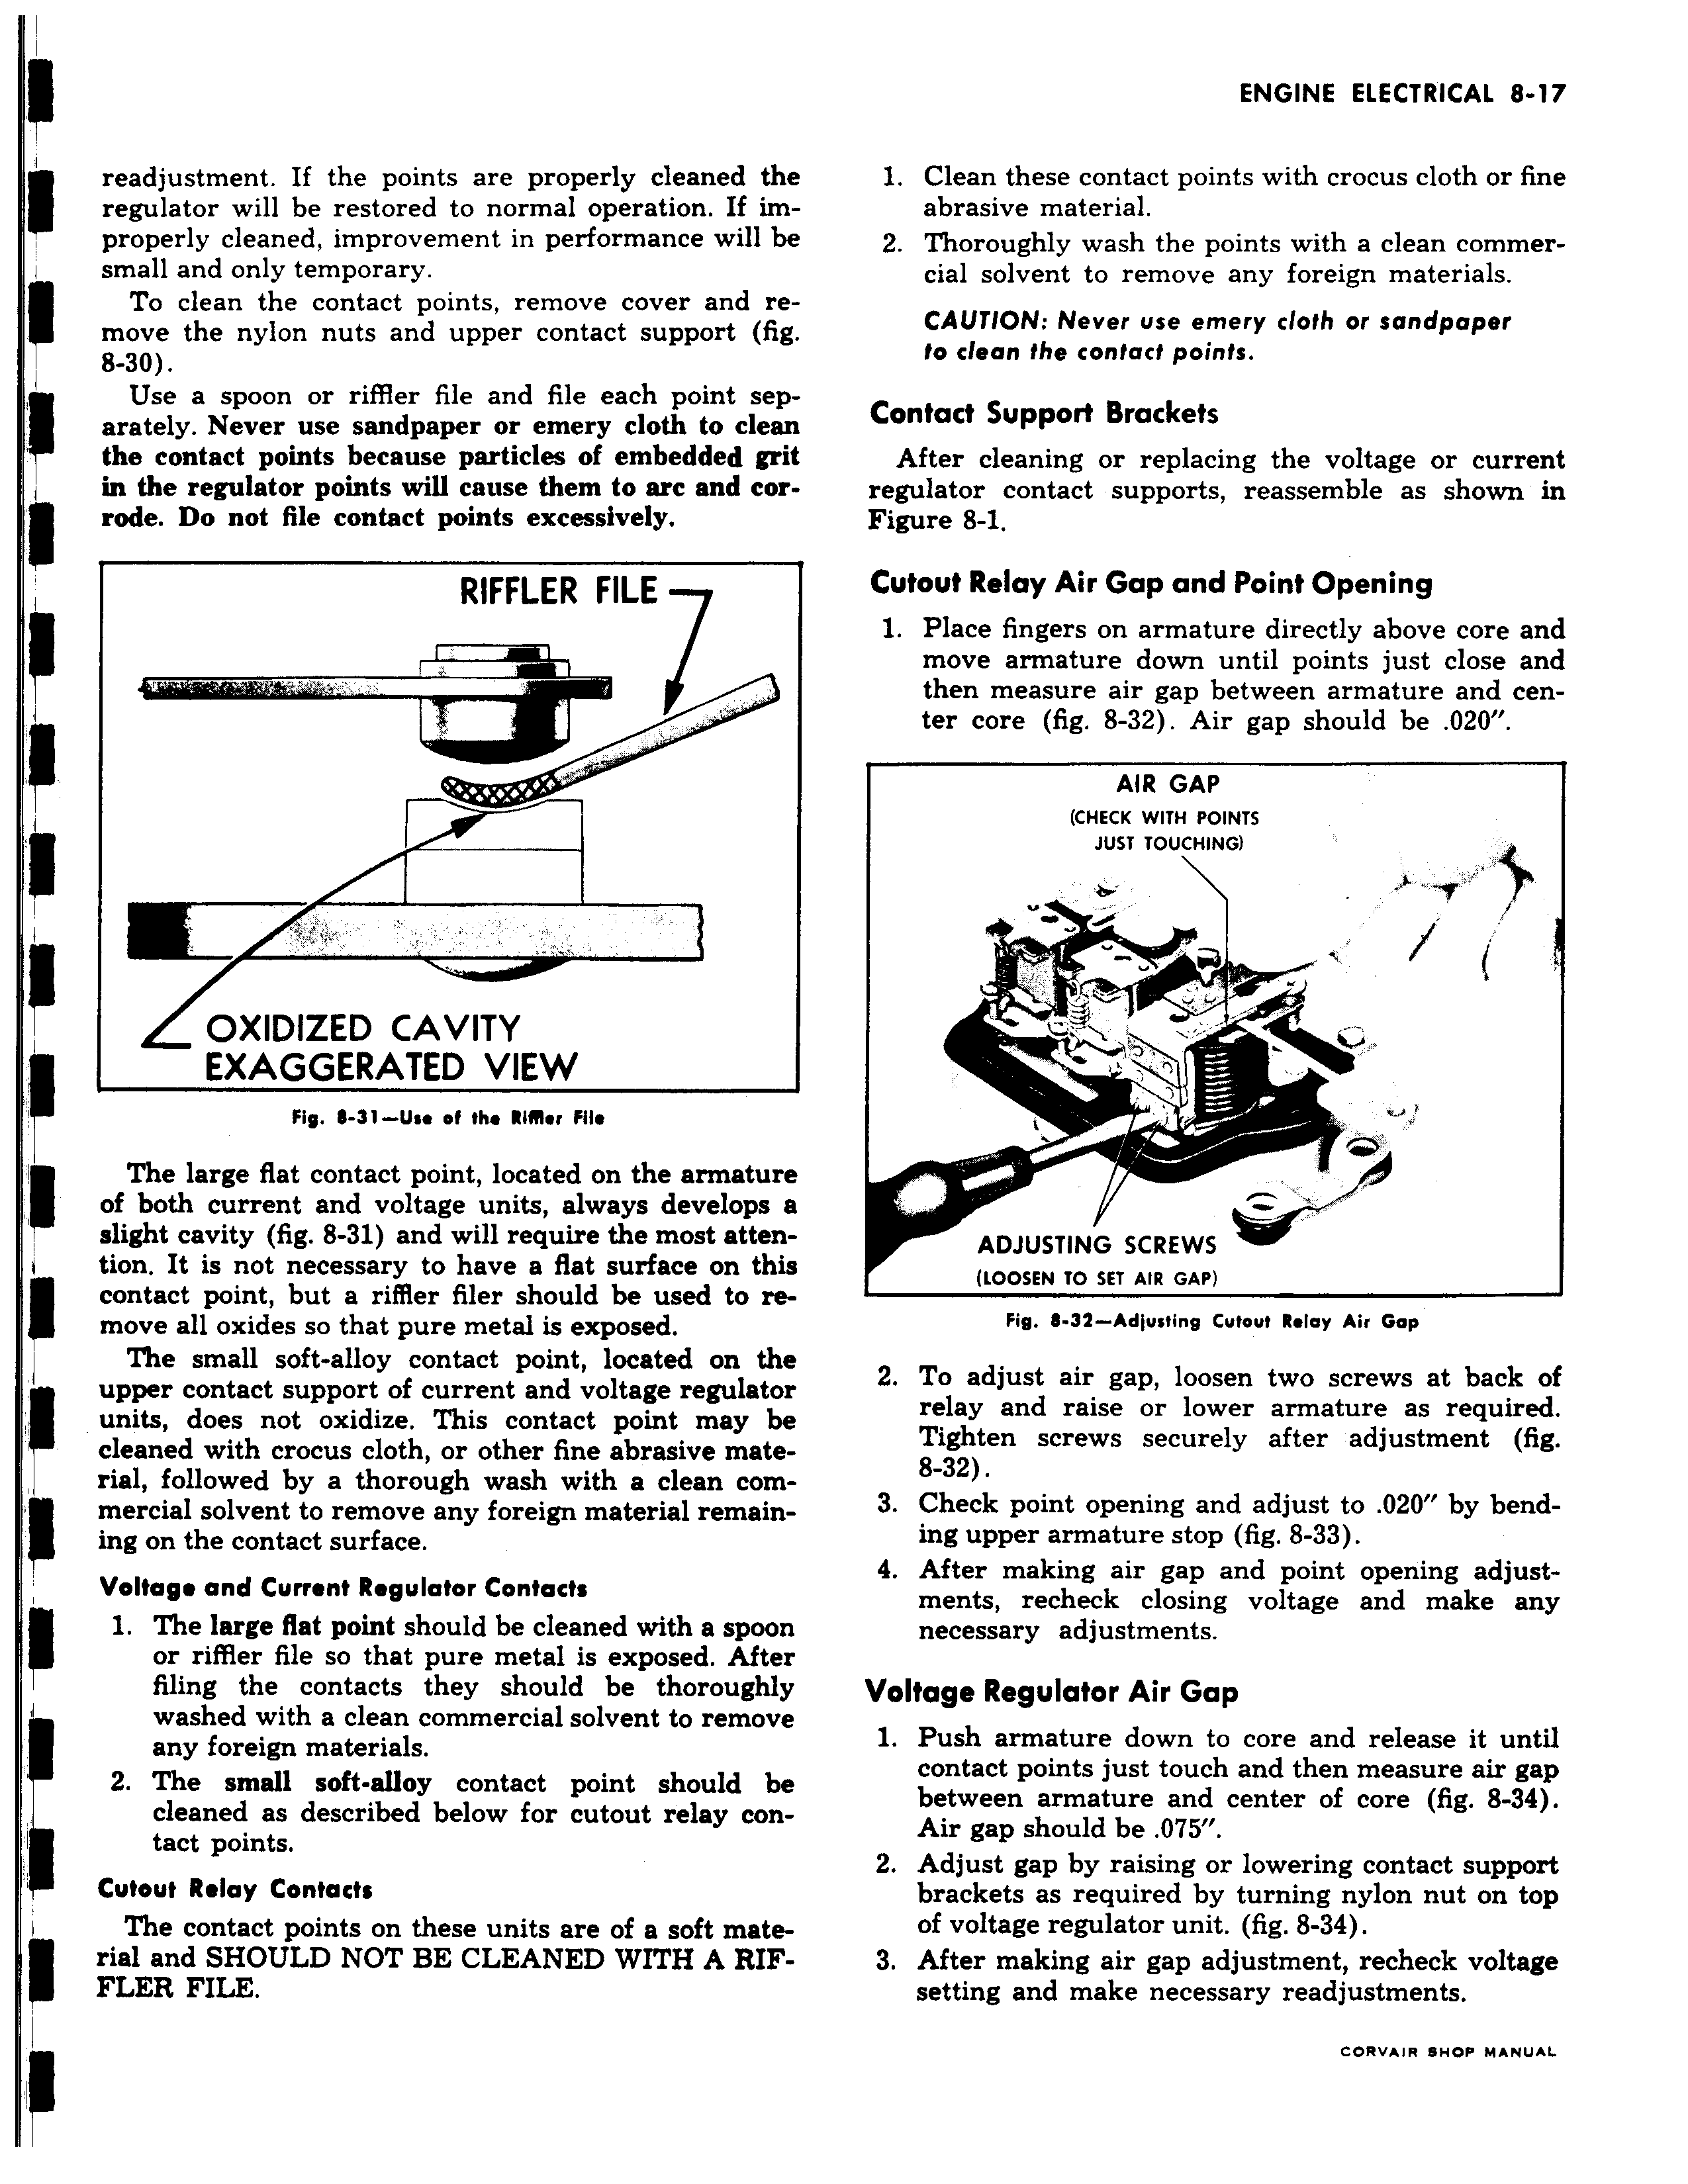
readjustment If the points are properly cleaned the regulator will be restored to normal operation If improperly cleaned improvement in performance will be small and only temporary To clean the contact points remove cover and re move the nylon nuts and upper contact support fig 8 30 Use a spoon or riffler file and file each point separately Never use sandpaper or emery cloth to clean the contact points because particles of embedded grit in the regulator points will cause them to arc and corrode Do not file contact points excessively RIFFLER FILE EL OXIDIZED CAVITY EXAGGERATED VIEW 1 Fig 8 31 Us of the lifflor File The large flat contact point located on the armature of both current and voltage units always develops a slight cavity fig 31 and will require the most attention It is not necessary to have a flat surface on this r contact point but a rifAer filer should be used to re move all oxides so that pure metal is exposed The small soft alloy contact point located on the upper contact support of current and voltage regulator units does not oxidize This contact point may be cleaned with crocus cloth or other fine abrasive material followed by a thorough wash with a clean commercial solvent to remove any foreign material remaining on the contact surface Voltage and Current Regulator Contacts 1 The large flat point should be cleaned with a spoon or riffler file so that pure metal is exposed After filing the contacts they should be thoroughly washed with a clean commercial solvent to remove any foreign materials 2 The small soft alloy contact point should be cleaned as described below for cutout relay contact points Cutout Relay Contacts The contact points on these units are of a soft mater rial and SHOULD NOT BE CLEANED WITH A RIF FLER FILE 1 Clean these contact points with crocus cloth or fine abrasive material 2 Thoroughly wash the points with a clean commercial solvent to remove any foreign materials CAUTION Never use emery cloth or sandpaper to clean the contact points Contact Support Brackets After cleaning or replacing the voltage or current regulator contact supports reassemble as shown in Figure 8 1 Cutout Relay Air Gap and Point Opening 1 Place fingers on armature directly above core and move armature down until points just close and then measure air gap between armature and center core fig 8 32 Air gap should be 020 AIR GAP CHECK WITH POINTS JUST TOUCHING h ADJUSTING SCREWS LOOSEN TO SET AIR GAP Fig 8 32 Adjusting Cutout Relay Air Gap 2 To adjust air gap loosen two screws at back of relay and raise or lower armature as required Tighten screws securely after adjustment fig 8 32 3 Check point opening and adjust to 020 by bending upper armature stop fig 8 33 4 After making air gap and point opening adjustments recheck closing voltage and make any necessary adjustments Voltage Regulator Air Gap 1 Push armature down to core and release it until contact points just touch and then measure air gap between armature and center of core fig 8 34 Air gap should be 075 2 Adjust gap by raising or lowering contact support brackets as required by turning nylon nut on top of voltage regulator unit fig 8 34 3 After making air gap adjustment recheck voltage setting and make necessary readjustments CORVAIR SHOP MANUAL

 Next
Next