Jeep Parts Wiki | Ford Parts Wiki
Home | Search | Browse
|
Body Service Manual August 1964 |
|
Prev
 Next
Next
4410043
4410043
4421823
4421823
4871330
4871330
4404196
4404196
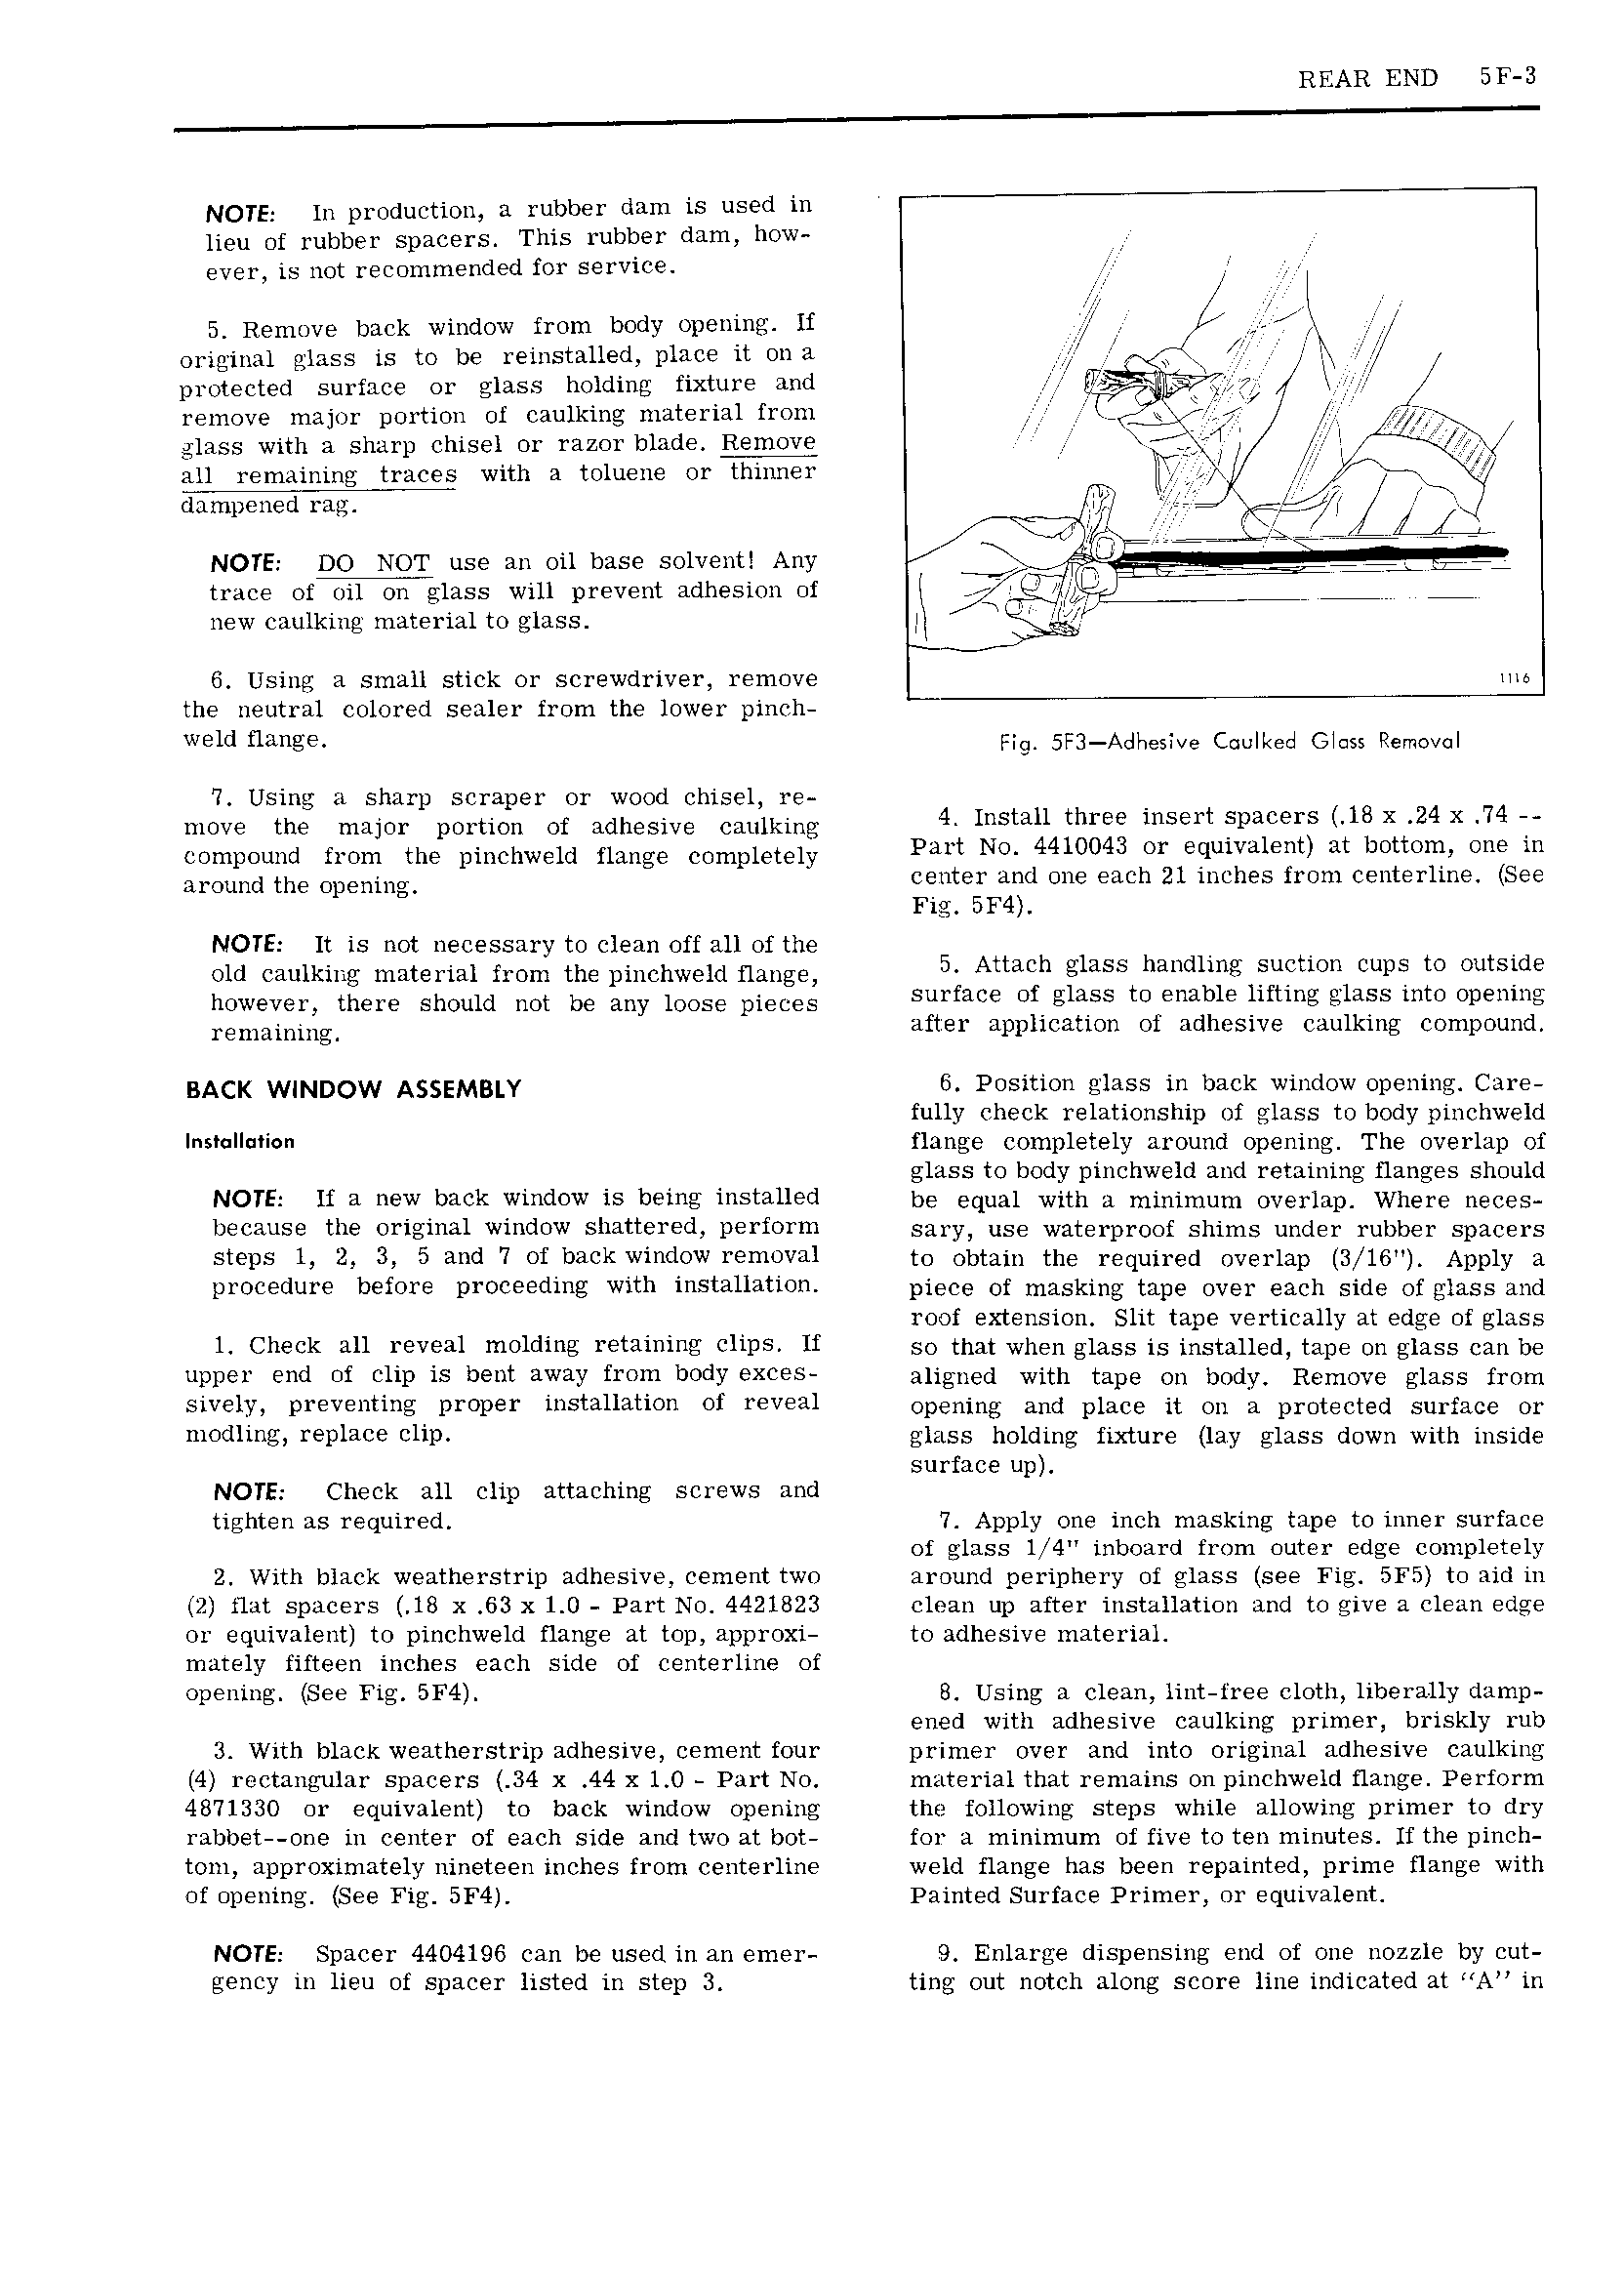
REAR END SF 3 NOTE ln production a rubber dam is used in lieu of rubber spacers This rubber dam how ever is not recommended for service K 5 Remove back window from body opening lf li fix J original glass is to be reinstalled place it ona a j g protected surface or glass holding fixture and 4 remove major portion of caulkiiig material from T 5 i j i g with a sharp chisel or razor blade Remove t F J J all remaining traces with a toluene or thinner f fj NOTE DO NOT use an oil base solvent Any V U vt wil 011 glass will prevent adhesion of I new caulking material to glass T 6 Using a small stick or screwdriver remove uic the neutral colored sealer from the lower pinch We1 i iige Fig 5F3 Adhesive Coulked Gloss Removal 7 Using a sharp scraper or wood chisel re move the major portion of adhesive caulking 4 Install thrse 1 iS i etS 18 X 24 X 34 i compound from the pinchweld flange completely Part NC 4410043 er F uw 1 t at botwnti we m 3 0m d the Opemne center and one each 21 inches from centerline See 5F4 NOTE It is not necessary to clean off all of the old caulking material from the pinchweld flange 5 Attach glass handlmg Euftmu Cup te Outside however there Should net be any loose pieces surface of glass to enable lifting glass into opening enmmmg after application of adhesive caulking compound BACK w NDOw ASSEMBLY 6 Position glass in back window opening Care fully check relationship of glass to body pinchweld I s II i n flange completely around opening The overlap of glass to body pinchweld and retaining flanges should NOTE lf H new back window is b ilig i St9 U d be equal with a minimum overlap Where neces because the original window shattered perform gary use weterpreeg ebrms under rubber Spacers steps 1 3 5 and 7 of backwindcw renieval to obtain me required overlap 3 16 Apply a procedure before proceeding with installation piece Og masking tgpg Over eeeh side ef glass uud roof extension Slit tape vertically at edge of glass 1 Check Liu 1 V Hl molding 1 Uii i g CUPS If so that when glass is installed tape on glass can be upper end of clip is bent away from body eXC S aligned with tape on body Remove glass from SWQIY l 1 9V91 ti S T PF0l I i t U tiO of reveal opening and place it on a protected surface or modling replace clip glass holding fixture lay glass down with inside surface up NOTE Check all clip attaching screws and tighten as required 7 Apply one inch masking tape to inner surface of glass l 4 inboard from outer edge completely 2 With black weatherstrip adhesive cement two around periphery of glass see 51 5 to aid in 2 flat spacers 18 x 63 x 1 0 Part No 4421823 clean up after installation and to give a clean edge or equivalent to pinchweld flange at top approxi to adhesive material mately fifteen inches each side of centerline of opening See Fig 5F4 8 Using a clean lint free cloth liberally damp ened with adhesive caulking primer briskly rub 3 With black weatherstrip adhesive cement four primer over and into original adhesive caulking 4 rectangular spacers 34 x 44 x 1 0 Part N0 material that remains on pinchweld flange Perform 4871330 or equivalent to back window opening the following steps while allowing primer to dry rabbet one in center of each side and two at bot for a minimum of five to ten minutes If the pinch tom approximately nineteen inches from centerline weld flange has been repainted prime flange with of opening See Fig SF4 Painted Surface Primer or equivalent NOTE Spacer 4404196 can be used in an emer 9 Enlarge dispensing end of one nozzle by cut gency in lieu of spacer listed in step 3 ting out notch along score line indicated at A in